Ai - You Make Me Laugh Challenge

Thursday, June 25, 2020
Hello!!

I am back again sharing another card for the Art Impressions 
Challenge ... This week it is; You Make Me Laugh Challenge. 

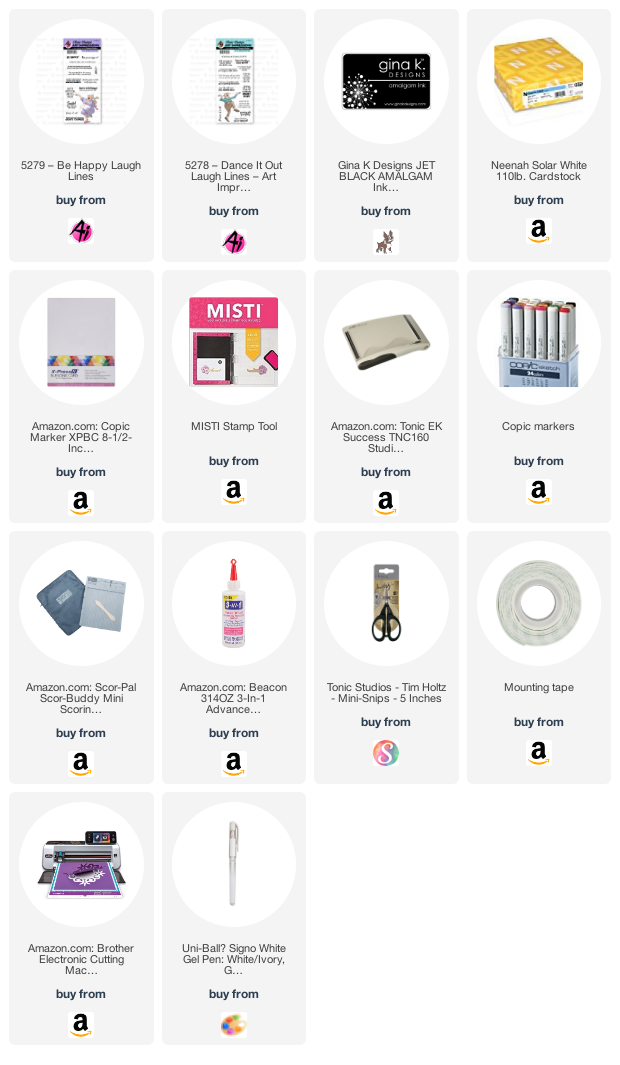
I am using the new Dance It Out Laugh Lines  and the Be Happy Laugh Lines set. 


Aren't these two just the cutest ever?  I made them dancing.  They are still hopping along even after all these years together.  I had to use both Laugh Lines stamp sets ... Be Happy & Dance It Out.


I started by creating my scene.  I colored my sky darker on the outer edges, getting lighter toward the middle of the card.  I drew how I wanted my hill with pencil and used a really light green to color my hill first. I followed with my grass; which is three shades of green. I added my sentiment "You don't stop dancing when you get old ... You get old when you stop dancing."


I stamped and cut out my people.  My lady is from the Be Happy set.  My gentleman is from the Dance it Out stamp set.  I Copic colored them.  I made my gentleman's shit a plaid and my woman's dress a polka dot dress.  I absolutely LOVE how they turned out. 


To add them to my card I glued the bottom half of them to the card base. The top half I added with foam tape to make them appear as if they are dancing off the page. Do you have a favorite?  The woman or the man?  I can't pick ... they both are adorable.


Here is one more look at my finished card.  I hope you have enjoyed my take on the You Make Me Laugh Challenge. I had so much fun with this card.  I will definitely be making more things with this set. Please head over to the Ai blog and play along ... you could win a fabulous prize.  Have a great day! 


Copics used:


Until next time ... Hugs & inky fingers!

0

Ai - The Possumbilities Are Endless

Wednesday, June 24, 2020
Hello!!

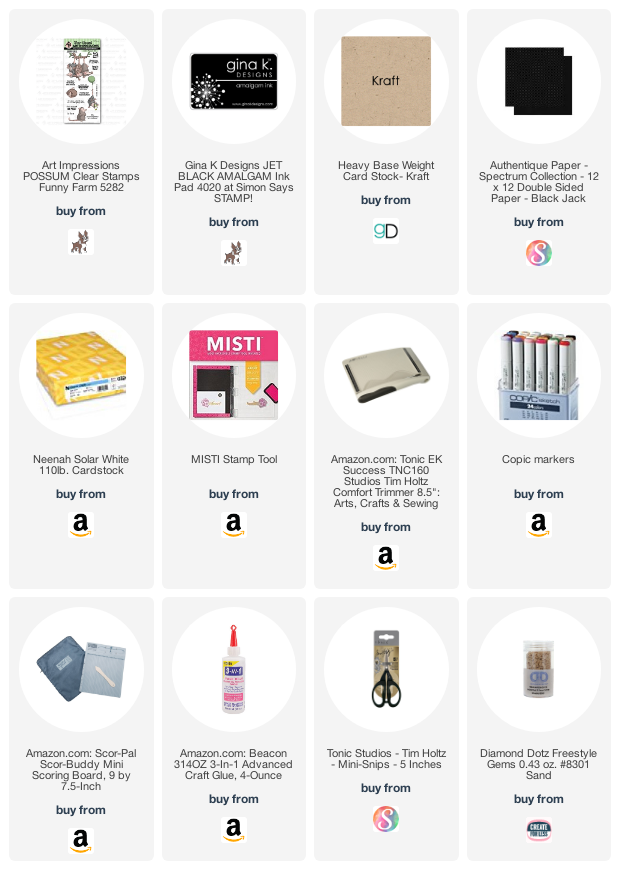
I am over on the Art Impressions blog today sharing a card I made using the new Possum stamp set from Art Impressions.  
I started with some kraft card stock for my card base.  I trimmed my white panel with a frame of black around it to make the kraft and white paper pop.  
I stamped my Possum on the bottom right corner of the white panel.  I Copic colored him.  I added a shadow with my Copics to give him a little dimension. 
I finished my card off with some crystal gems.  I arranged them in a swirl.  I thought it was fitting with my sentiment ... "The Possumbilities are Endless."
Here is one more look at the finished card. 

Thank you so much for stopping by and spending a little time with me, stop back again soon.  Make sure you head on over to the Ai blog soon and see what the team has been up to.  

Copics used:
E31, E33, E41, E43
E70, E71, E74
R11, R22
W1, W3, W5


Until next time ... Hugs & inky fingers!

0

PBP & HAI Supply Collaboration

Saturday, June 20, 2020
I am so excited to be participating in the blog hop with Pear Blossom Press and HAI Supply. I knew I wanted to use my Oh Snap stamp and die set from Concord & 9th.


As you can see above, this is a multi step interactive card.  Below I will show you how  I made this card. 


I started by inlaying a piece of the Japanese Handmade Washi Paper to my card base.


I Copic colored my camera. I added a Clear Droplet to the flash portion of my stamped image.  I poked a hole in the paper before I glued my droplet down because that is where my EZ Light is going to go.


From here attach your EZ Light with tape after you have threaded it through the back of your card. 


Make sure you test your EZ Light before you go and glue your panel down!


Tape all your wires and your battery pack where they belong.  Add foam tape around the perimeter so everything will lay flush when attached. Attach to your card base and you are finished.  


I finished off my card front with some more of the Clear Droplets from HAI Supply.  I absolutely love how it all turned out, from the EZ Light flash using the Clear Droplet  to the Polaroid pull down. 


I had to decorate the inside to match the card front.  I used both the Black & White Diagonal Stripe Washi Tape and the a piece of the Japanese Handmade Washi Paper.

Here is one more look at the finished card.  I hope you enjoyed my take on the EZ Lights from Pear Blossom Press and the elements of HAI Supply.
Thank you for hopping along on the HAI Supply & Pear Blossom Press Collab Hop! For more inspiration, check out all of the stops in the hop...

 *** PRIZES ***
Hops are always more fun when there are prizes, right?? Four prizes will be awarded to four separate winners, chosen at random, from comments left on participating blogs and videos. Prizes include $25.00 gift codes from Pear Blossom Press, and $25.00 gift codes from HAI Supply. No purchase necessary. Comments must be posted by 11:59 pm PST on June 27, 2020. Only one comment per blog or video will be counted, but you can comment on multiple blogs and videos in the hop for additional entries. (This is to prevent spam.) Contest open internationally to participants over 18 years of age. Void where prohibited by law. Any personal information collected will only be used for the purposes of contacting winners, your information will never be shared or sold. Comments left on YouTube videos must not violate community guidelines. This contest is not sponsored by YouTube. Winners will be announced on July 6, 2020 at pearblossompress.com and prizes must be claimed within thirty days of announcement, or new winners will be drawn.
*** DISCOUNTS ***
One code, two stores! Enter discount code EZSHIP4 at checkout on Pear Blossom Press and HAI Supply for $4.00 off your total, on orders over $25.00 (before tax and shipping), valid until June 27, 2020.
17

Ai - Dance It Out

Wednesday, June 17, 2020
Hello!!

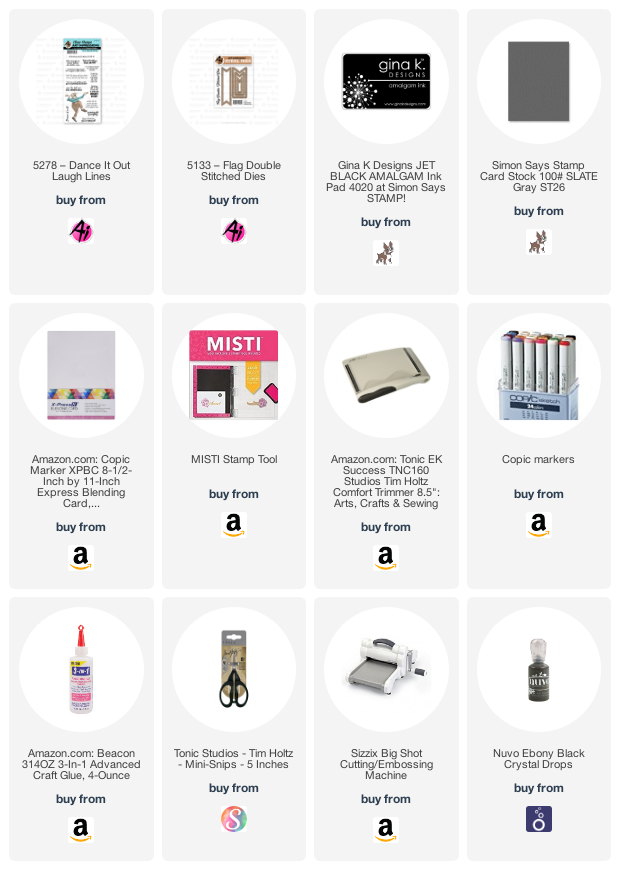
I am over on the Art Impressions blog today sharing a card I made using the Dance It Out stamp set from Art Impressions.  


I started by stamping my sentiment and cutting it out with the Flag Double Stitched Dies.  I love the banners you can make with these dies.  I layered the sentiment to give it a more polished look.  


For my card I used a gray card base.  I layered my white panel on top and stamped my dancing gentleman towards the left of the card.  I Copic colored him.  I added a shadow to give him some depth.  


I finished my card off by attaching my banner to the right side of the card and randomly adding some black Nuvo Drops. Below is another look at the finished card.


Here is one more look at the finished card. 

Thank you so much for stopping by and spending a little time with me, make sure you stop back again.   Head on over to the Ai blog real soon and see what the team has been up to.  

Copics used:
B91, B93, B95
C1, C3, C5
E00, E11
E40, E41, E42
R11, R22, R27
W0, W1, W3, W5

Until next time ... Hugs & inky fingers!

0

Ai - Animals & Nature Challenge

Thursday, June 11, 2020
Hello!!

I am back again sharing another card for the Art Impressions 
Challenge ... This week it is; Animals & Nature Challenge. 

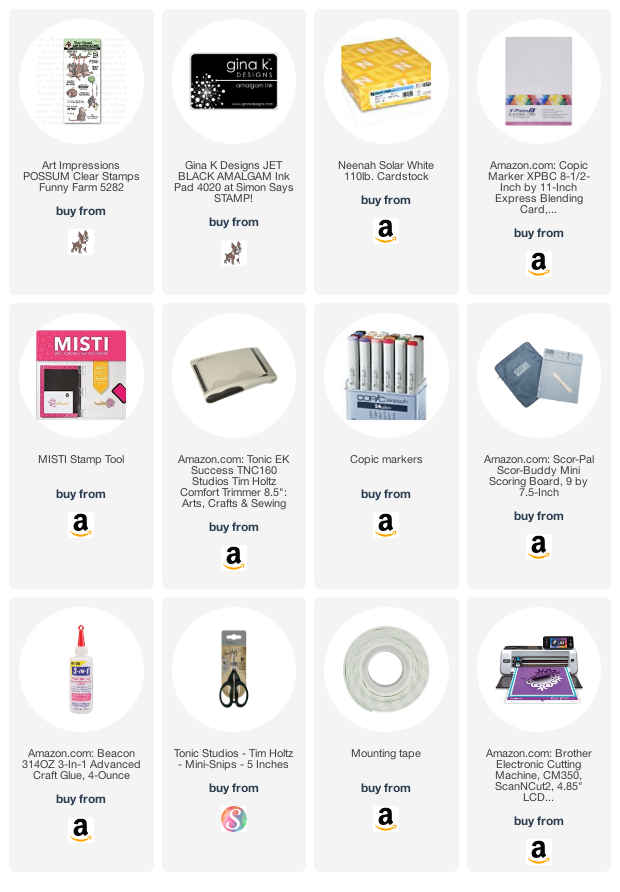
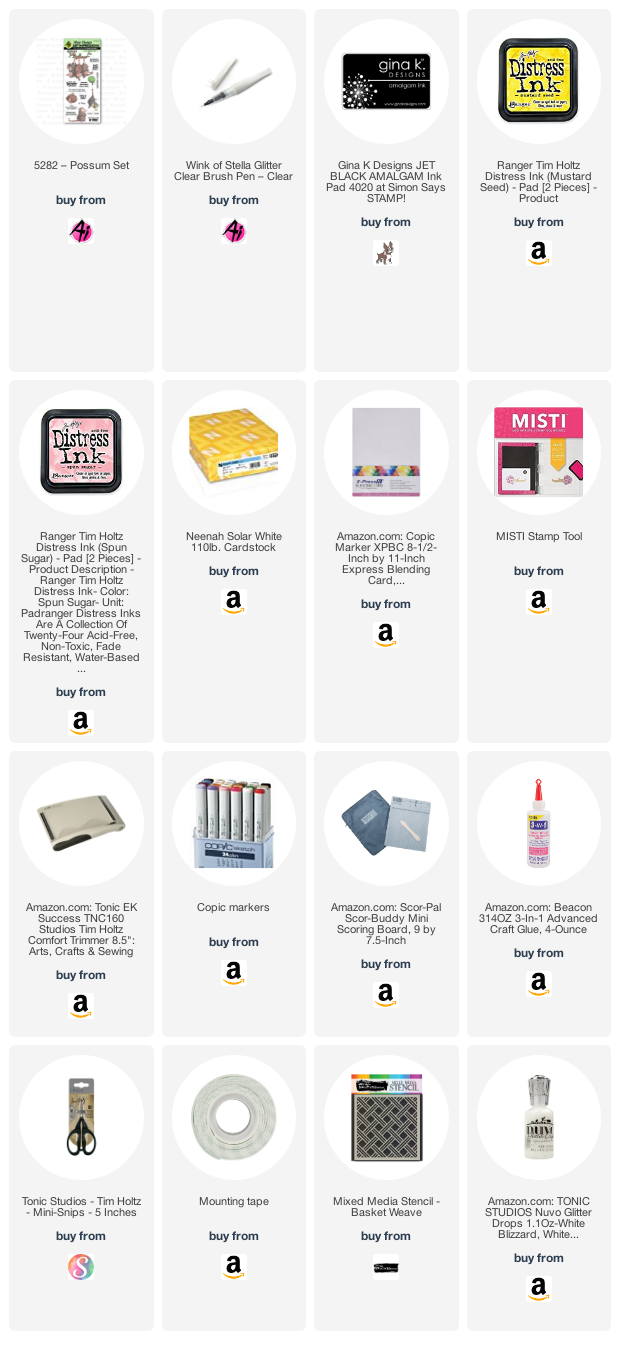
I am using the new Possum Set


As you can see above I used the three possum swinging on a branch with the funny sentiment "Another Birthday? Hang in there."


I started by Copic coloring my possum image.  I fussy cut it out and had a black die cut frame from a different project for my frame. 


I framed my white card stock with my purple tape so that once my frame was added you would not be able to see my clouds that were stenciled on. I used some blue ink to emulate a cloudy sky for the swinging possum background.


These next few images are more hints to make things easier, well at least in my opinion :-) As you can see I taped down my four corners on top of my frame.  This allows me to have the frame evenly spaced on my card base, and have my sentiment in the appropriate spot.


Now you can see my tape shifted positions ... why?  Because now I have it laid out so once my foam tape is on my frame I can line it up and my frame will be in the correct place. Too many times have I had to peel up my frames for pieces because they weren't in place.  So now I line up the top and the rest falls in place.  You're welcome :-)


See how good my frame looks on my card base?  It really does line up perfectly.  It save time that is for sure.  Try it ... all that's wasted is a tiny bit of tape.  Press down your possum image and now just to finish it off with a few sequins.


Here is one more look at my finished card.  I hope you have enjoyed my take on the Animals & Nature Challenge. I had so much fun with this card.  I will definitely be making more things with this set. Please head over to the Ai blog and play along ... you could win a fabulous prize.  Have a great day! 


Copics used:
E25, E27, E29 
E31, E33
E41, E43
E70, E71, E74
E84, E87, E89
G43, G46
R11, R22
YG13

Until next time ... Hugs & inky fingers!


0

Ai - Have An Awesome Possum Birthday

Wednesday, June 10, 2020
Hello!!

I am over on the Art Impression blog today sharing a card I made using the Possum stamp set from Art Impressions.  


I started with using a stencil from my stash and ink blended the background in a yellow and light pink color.  


I Copic colored my Possum image and fussy cut her out. I raised her up with foam tape on the center of my card.  I added Wink Of Stella to my yellow balloon to make it sparkle. 


I stamped my sentiment in the center of the bottom portion of my card base.  I finished it off with some white Nuvo Drops.  I really love the softness of this card. 


Here is one more look at the finished card. 

Thank you so much for stopping by and spending a little time with me, make sure you come back soon.  Head on over to the Ai blog soon also and see what the team has been up to.  

Copics used:
E31, E33, E41, E43
E70, E71, E74
R11, R22
Y13, Y15, Y17

Until next time ... Hugs & inky fingers!

0

Ai - Feel Better Soon

Wednesday, June 3, 2020
Hello!!

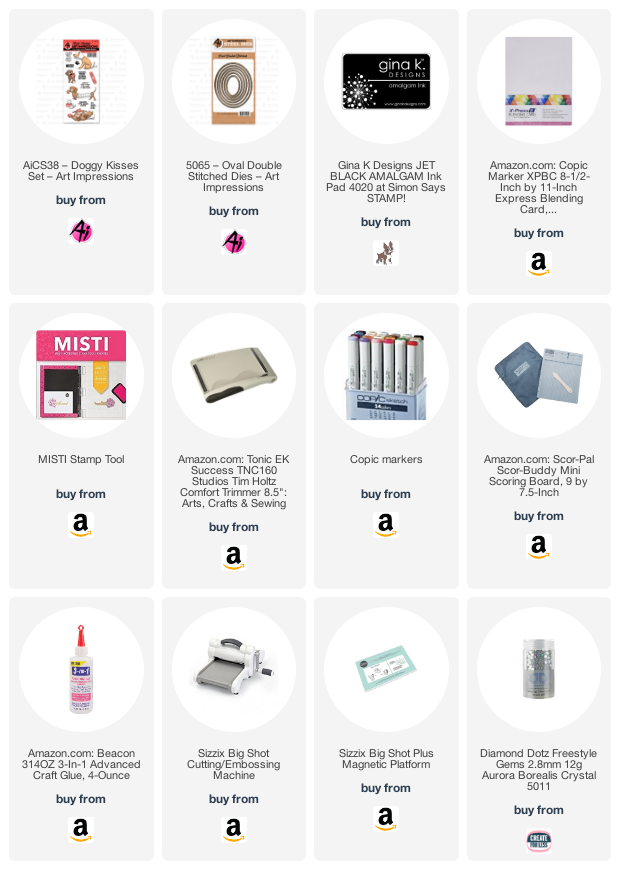
I am over on the Art Impressions blog today sharing a card I made using the Doggy Kisses stamp set from Art Impressions.  


I started by Copic coloring my wiener dog image. I trimmed him in a rectangle and added a frame in chocolate paper.  


I used the same chocolate card stock for my card base and I added some patter paper I had in my stash that had paw prints.  I added my wiener dog image to the top at an angle to give it some depth.  


I stamped my sentiment and cut it out with my Oval Double Stitched Dies.  I added a frame to it with the came chocolate card stock.  I finished it off with some clear jewels. 

Here is one more look at the finished card.

Thank you so much for stopping by and spending a little time with me, make sue you come back soon.  Stop on over to the Ai blog soon and see what the team has been up to.  

Copics used:
C1, C3
E13, E15, E17
E29, E79
Y13, Y17
YG17

Until next time ... Hugs & inky fingers!

0

Search This Blog

Powered by Blogger.