Ai - Best Friends Challenge

Thursday, April 30, 2020
Hello!!

I am back again sharing another card for the Art Impressions 
Challenge ... This week it is; Best Friends Challenge

I am using the new We're Here set


I thought with everything that was happening in our world today this was fitting. HaHa! I know my friends and I already have a wine day planned as soon as we no longer self isolating , so ... "Let's Get Together"


As you can see I Copic colored my ladies.  I wanted to make them bright and vibrant. They look so happy to be getting together. This really could be used for any occasion.


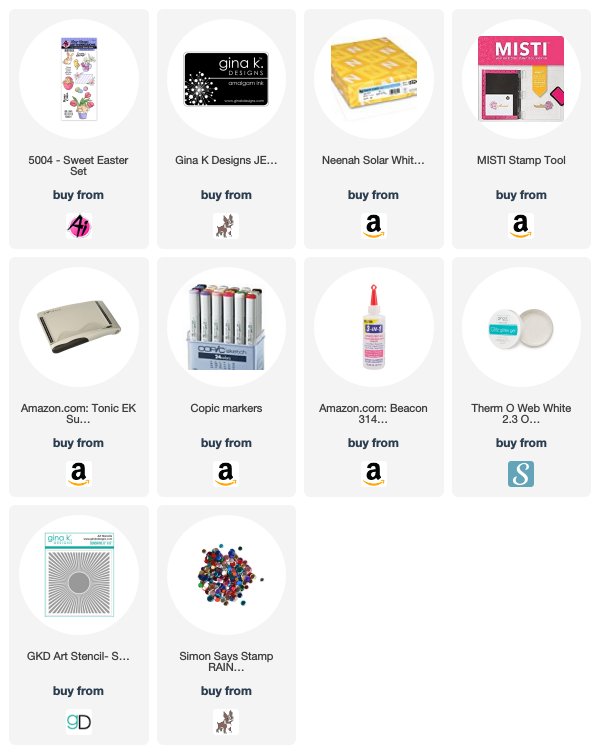
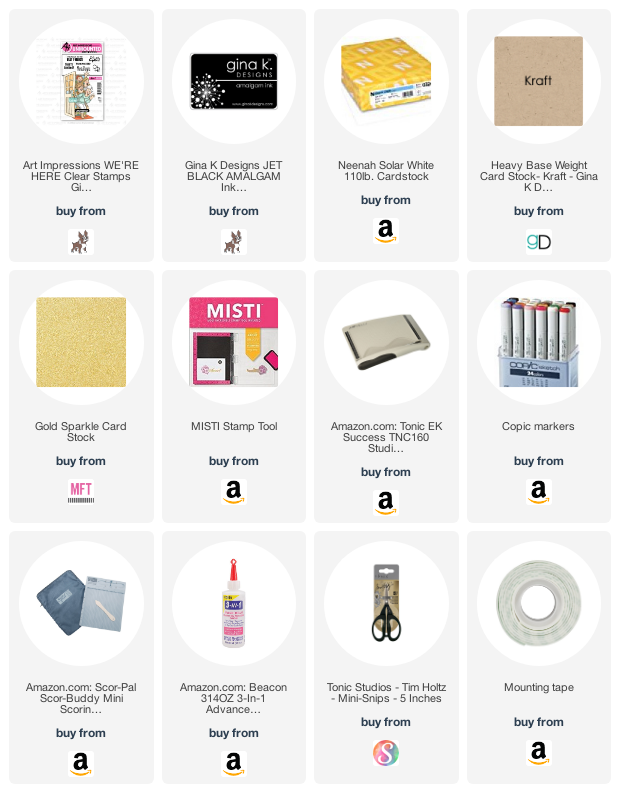
I started with a A2 Kraft card base.  It is a side folding card.  I turned it so it opens from left to the right. From there I cut off 2.25" from the outer edge. I glued a piece of glitter card stock to the outside.  I stamped "Let's Get Together"  in the bottom corner and I added some matching gems.  For the inside I added my white card stock cut to A2 size.  I added another piece of glitter card stock.  I stamped "Old Friends are the BEST Friends" to the center right of the panel.  I stamped my ladies to the left side of the panel. 


Here is one more look at my finished card.  I hope you have enjoyed my take on the Best Friends Challenge using the We're Here stamp set. I had so much fun with this card.  I will definitely be making more things with this set. Please head over to the Ai blog and play along ... you could win a fabulous prize.  Have a great day! 

Copics used:
B000, B00, B01, B02 
B37, B39, B45
C2, C4, C6
E00, E11, E23, E25, E29, E31, E33, E34
E35, E37, E51, E55, E57, E59, E70, E71
G43, G46
N5, N7, N9
R27, R29
RV02, RV04, RV06
Y17, Y19, Y21, Y23

YR94, YR07, YR15, YR16

Until next time ... Hugs & inky fingers!

0

Ai - Thinking of You Roses

Wednesday, April 29, 2020
Hello!!

I am over on the Ai blog today to share a card I made using the Roses stamp set from Art Impressions sold exclusively at Scrapbook.com.  
Isn't this a beautiful image of a bouquet of roses?  I like that takes up most of a card front without being over powering.
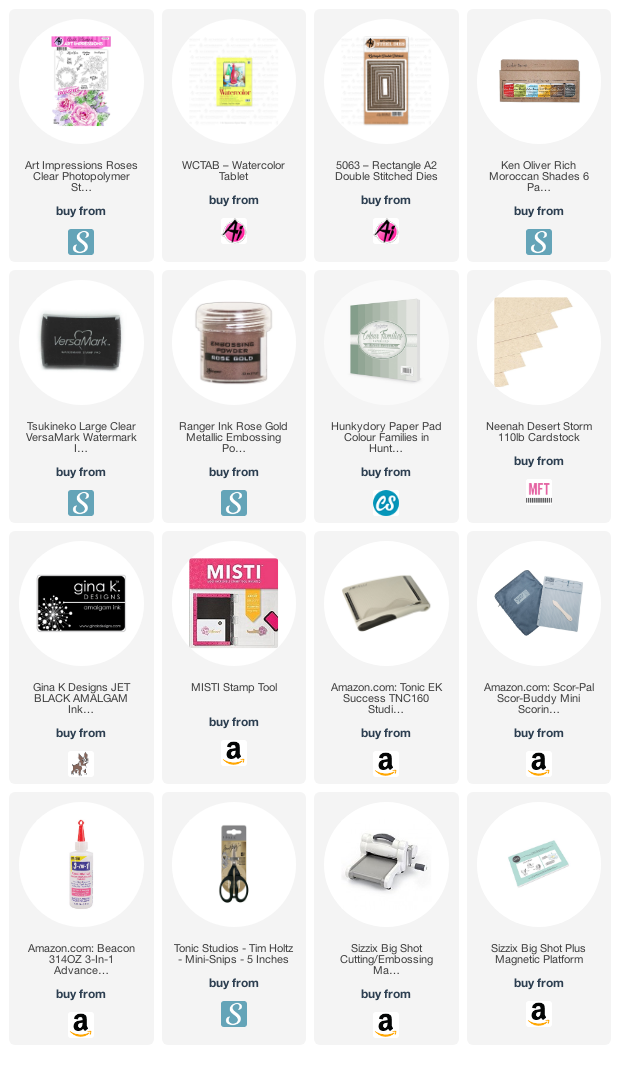
I started by trimming my Strathmore Watercolor paper to 4.25" x 4.25" and heat embossing my roses.  I used my Color Bursts to watercolor the roses.  I then added it to my Neenah Desert Storm card base, which I trimmed so I could angle my watercolor piece and have it still fit in a A2 envelope. I glued it to my base.  
I wanted to keep my sentiment rather vague so it could be used for a multitude of occasions.  This "Thinking of You" stamp from the set fit in the corner perfectly.  I used my rectangle die to cut out the hunter green paper and frame my roses
Here is one more look at the finished card.  I love the look of the loose watercolor.  I like the organic feel it gives the roses

Thank you so much for stopping by and spending a little time with me.  Make sure you come back soon to visit or head on over  to the Ai blog and see what the team has been up to.  

No Copics used this time, only Color Bursts.


Until next time ... Hugs & inky fingers!

0

Ai - Antiques Window

Wednesday, April 22, 2020
Hello!!

I am over on the Ai blog sharing a card I made using the Antiques Window stamp set from Art Impressions.  
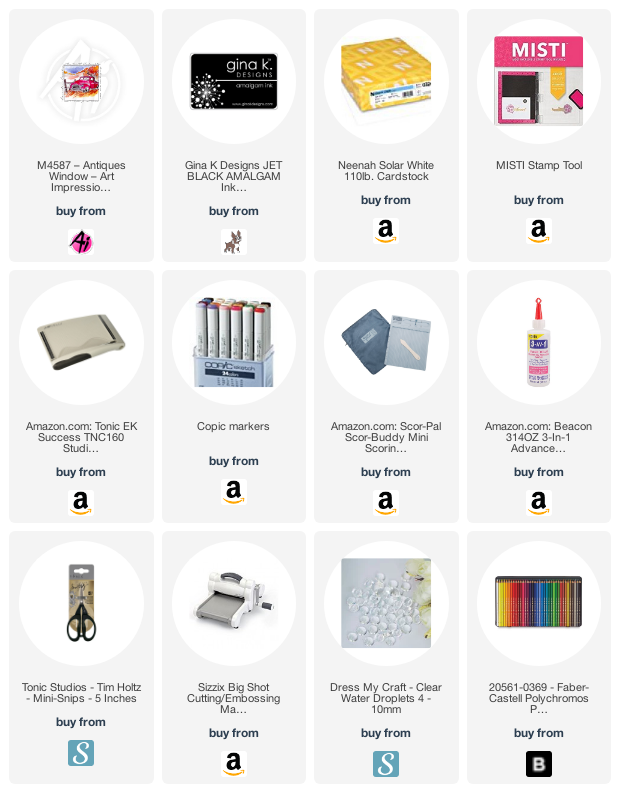
I started by adding my green striped paper to my white card base.  I added my white piece that I stamped with my Antiques Window and colored with my Faber-Castell Polychromos.  
This card came together rather quickly but I love the outcome.  I love how the truck is definitely the focal point.  Just changing the color of the truck could change the whole feel of the card.
I finished it off with some clear droplets.  I wanted the stamp to be the main focus of this card.  As the stamp says  The most valuable antiques are our oldest & dearest friends…Priceless.” How can you say much more?
Here is one more look at the finished card.  I love how it is so masculine and simple but yet say so much!  

Thank you so much for stopping by and spending a little time with me.  Make sure you come back soon and also head over to the Ai blog and see what the team has been up to.  

Colored Pencils used:
Blue - 140, 145, 146
Brown - 178, 179
Gray - 181, 199, 230, 231, 232
Green - 158, 159, 161, 162, 163, 165, 170, 173, 264, 276,
Reds - 117, 121, 192, 219, 223


Until next time ... Hugs & inky fingers!


0

Ai - Kid at Heart Challenge

Thursday, April 16, 2020
Hello!!

I am back again sharing another card for the Art Impressions 
Challenge ... This week it is; Kid at Heart Challenge

I am using the new Bus Cubbies set. 


  I wanted to do something a little different so I turned the Cubbie into a gift tag.  Isn't it fun?  My nephew will love this with his gift.  He adores the zoo and all of the animals. I just took some thin paper and made the string for the balloons and popped them on from the back of the tag along with the tie around the gift bag. 


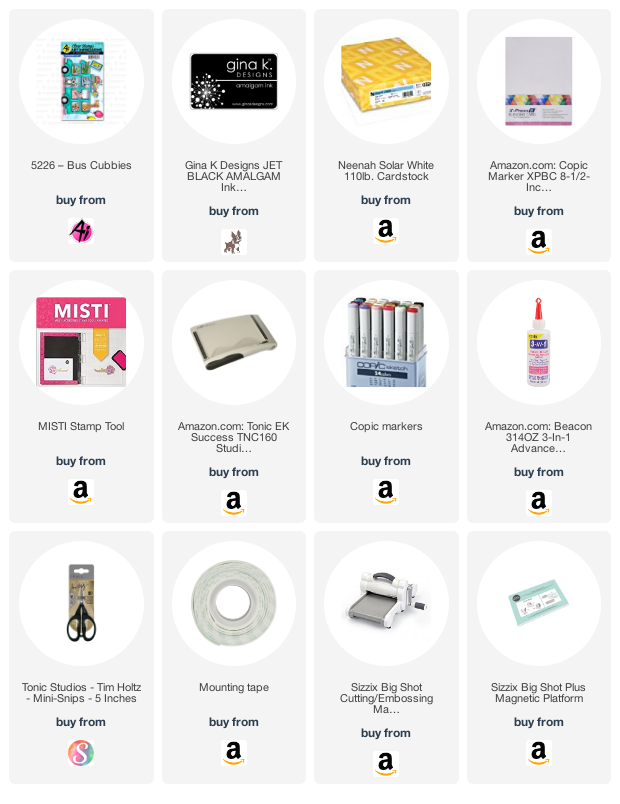
I started by tracing the cutout of the bus on my kraft card base.  I trimmed the card a tiny bit smaller than my original bus image. This way it can't be seen when looking at the bus from the front.  I stamped my sentiment and  the giraffe images and Copic colored it on the inside of my gift card. 


I used the coordinating die cut to cut out my bus.  I Copic colored it in traditional yellow. I stamped two additional tires, Copic colored them, and attached them to the bus with foam tape to give them a little dimension. I added the roof rack with all of the threats to the top of my bus as well. I couldn't decide it I wanted to add it or not but in the end I decided I needed the cake on there. I used all of the animals from the Bus Cubbies stamp set .  I Copic colored them. I fussed around with them until I had them in the correct windows, at least in my opinion LOL.


Here is one more look at my finished card.  I hope you have enjoyed my take on the Kid at Heart Challenge. I had so much fun with this card.  I will definitely be making more things with this set. Please head over to the Ai blog and play along ... you could win a fabulous prize.  Have a great day! 


Copics used:
B12, B14, B16
BG93
C1, C3, C5, C7, C9
E15, E17, E31, E35, E37
G94, G99
R11, R27 
RV02, RV04, RV06
W1, W3, W5
Y13, Y15, Y17
YG61, YG63, YG67

YR000, YR15, YR16, YR18, YR20, YR27

Until next time ... Hugs & inky fingers!

0

Ai - Sunshiny Day

Wednesday, April 15, 2020
Hello!!

I am over on the Art Impressions blog today sharing a card I made using the Daisies stamp set from Art Impressions sold exclusively at Scrapbook.com.
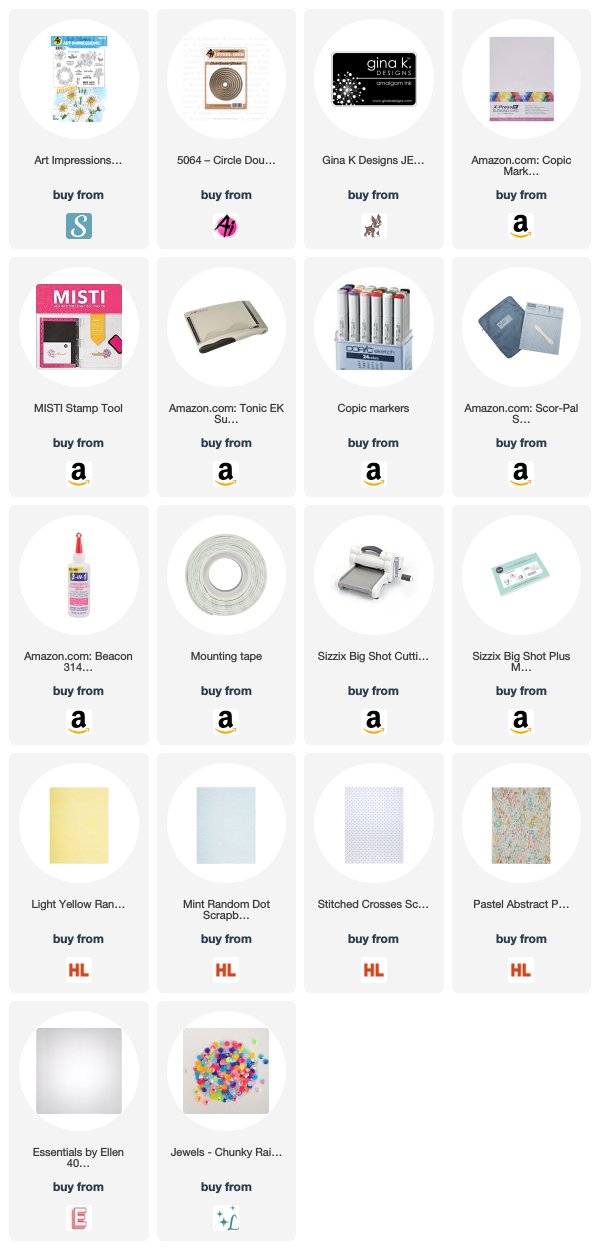
I cut a circle with my Circle Double Stitched Dies out of my pattern paper.  I used a random die I had on hand for my scribble circle that I cut out of vellum. I glued my Daisy, which was also cut from the Circle Double Stitched Dies; to the vellum and raised it on the pattern paper and glued the whole thing onto my embossed card base.
You can see the impression from my embossing folder here. I added some colorful gems to the card around the banners I cut out of random pattern paper I had on hand. I think it accents the Daisy perfectly; spring colors.
Here is one more look at the finished card ...
Thank you so much for stopping by and spending a little time with me.  Make sure you head over soon to the Ai blog and see what the team has been up to.  

Copics used:
C1
R11
Y04, Y06
YG03, YG05

Until next time ... Hugs & inky fingers!

0

Ai - Easter Blessings

Wednesday, April 8, 2020
Hello Ai fans!!

I am stopping by today to share a card I have up over on the Art Impressions blog. I made it using the Sweet Easter stamp set from Art Impressions.  


This card came together relatively quickly. I started by applying my Glitz Gel to a stencil I had.  I let it dry and trimmed the panel down.  I attached it to  my white card base.  I love the look of white on white.  


I placed my stamps down so I knew they would fit perfectly.  I Copic colored my bunny. I only used two color families; my cool grays and my reds.
I finished it by adding some pastel confetti sequins to make it pop a little more.  I really love how it turned out, might be one of my recent favorites.


Thank you so much for stopping by and spending a little time with me.  Make sure you come back soon here or over to the Ai blog and see what the team has been up to.  

Copics used:
C0, C1, C3, C5
R11, R22, 

Until next time ... Hugs & inky fingers!

0

Unity - It Will Get Better

Monday, April 6, 2020
Hello Everyone!!

I am sharing a card I made today from the limited digital release from Unity Stamp Company.  They have released images that are uplifting and encouraging.  They have also release ones that are supporting our front line medical workers during this pandemic.


I am using two different sets from Unity Stamp CompanyIn This Together and Jesus & Germs.  The flower is from In This Together.  The sentiment is from Jesus & Germs


I wanted to show you a little trick.  Notice how there is a white frame around the back of my card?  Well I cut a smaller rectangle out of my gold glitter card stock. This way I am not wasting a whole piece on the card that will never be seen.  Now I have enough for another project now. Light bulb moment, right?


Basically I layered my gold glitter paper, black paper and my card front with my flower and sentiment on it.  I Copic colored the flower. I glued everything to my white card base when done and that was it! Very easy to put together but also very elegant. 


Here is one more look at the finished card.  I am really pleased with how this turned out.  It is so soft sand beautiful in real life.

If you are interested in the digital images from Unity Stamp Company,  check them out ... you won't be disappointed.  And what better to cheer someone up who is self isolating than a hand made card. 

Thank you so much for stopping by and spending some time with me.

Until next time ... Hugs & inky fingers! -Nic-
0

Ai - Bloom Where You're Planted Floral Challenge

Thursday, April 2, 2020
Hello!!

I am back again sharing another card for the Art Impressions 
Challenge ... This week it is; Bloom Where You're Planted Floral Challenge

This challenge I am using the Succulent Set by Art Impressions.
I started by using my colored paper to build a panel for across my card.  I placed it a tiny bit off center to even it out once I added my "Sending Hugs" sentiment to the bottom right under the green paper.
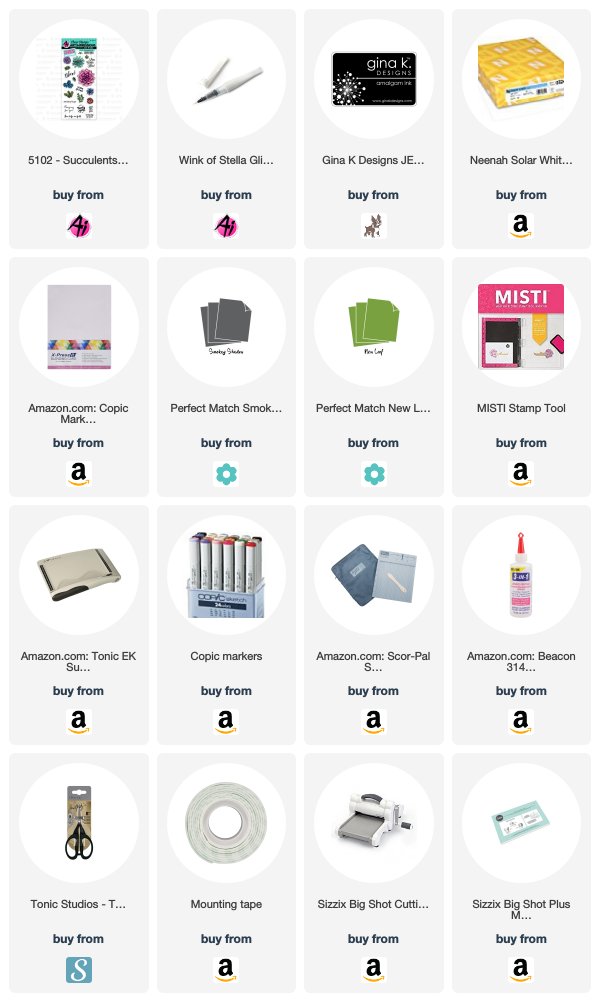
I Copic colored my Succulent images.  I did two of the smallest and middle sized plants.  I only colored one of the larger ones.  I knew I wanted to attach them by size. I cut the Succulents out with the dies that came with the set.
I attached the Succulents from the smallest on the outside to largest in the middle.  I glues the two smallest Succulents down, followed by one layer of foam tape on the middle sized ones.  The large one in the center has two layers of foam tape.  I love how it turned out
in real life.  I finished it off with a few layers of Wink of Stella to my plants to really make them sparkle.  


Here is one more look at my finished card.  I hope you have enjoyed my take on the Spring Celebrations Challenge. I had so much fun with this card.  I will definitely be making more things with this set. Please head over to the Ai blog and play along ... you could win a fabulous prize.  Have a great day! 

Copics used:
G99
YG00, YG03, YG25, YG67

Until next time ... Hugs & inky fingers!

0

Ai - Coffee BFF's

Wednesday, April 1, 2020
Hello Ai fans!!

I am over on the Art Impressions blog today sharing a card I made using the Coffee BFF's stamp set from Art Impressions. Head over to the blog and give them some love.  
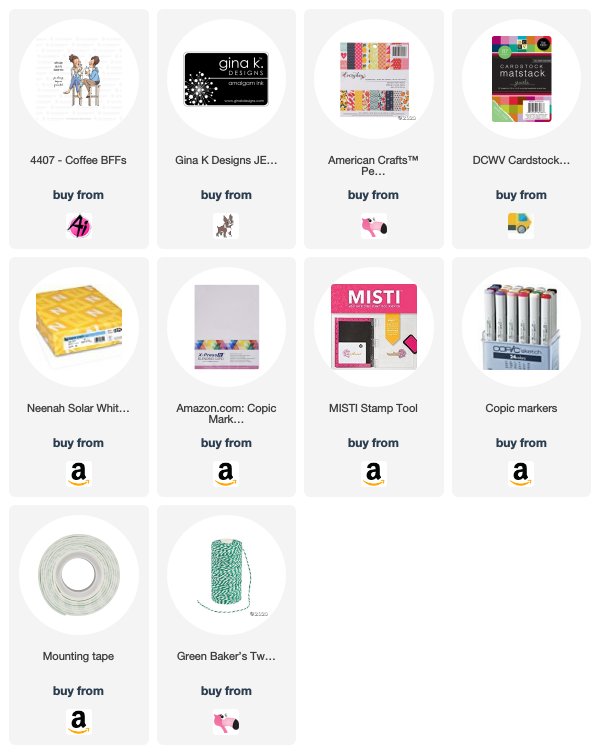
 I started by picking my paper I wanted.  I thought this pretty pattern paper went well with the green I wanted for my background and the mat for my main image.  I also had the perfect green and white bakers twine that matched perfect.I tied my bow double for extra loops.
Once I had my paper picked out I could start coloring my gal pals.  I trimmed them to the size I wanted and instead of a straight on mat I decided to shift the green paper for a little variety. 

Here is one more look at the finished card.  I love the "generic" format of this card.  You really can use this for absolutely ANY occasion you needed.  I love cards that are versatile to any occasion.
I absolutely LOVE this color combo and papers together so be on the look out for these papers in the future. 

Thank you so much for stopping by and spending a little time with me.  Make sure you come back soon here or to the Ai blog and see what I has been up to.  

Copics used:
B91, B93, B95
BG000
C1, C3, C5
E00, E11
E43, E44, E47, E49
G40, G43, G46
R11
RV32
W1, W3, W5, W7
Y13, Y15, Y17

Until next time ... Hugs & inky fingers!

0

Search This Blog

Powered by Blogger.