TRHD - You Make My Heart Dance

Wednesday, December 25, 2019
It is Nic and I am over at The Rabbit Hole Designs blog today.  You should go and give them some love. 
I sharing another card I made using one of The Rabbit Hole Designs new stamp sets. 


For today's card I used the Love You More - Heart Dance stamp set, along with the Square Illusion stencil that was released this month.


How to create this card:
  • A2 red card base that is 4.25"x5.5".
  • Apply transfer gel over your stencil on a black card piece and let it dry clear.
  • Add silver foil to your stenciled background and run through your hot laminator.
  • Trim background to 4"x5.25" and apply to your red card base.
  • Add a red stripe across the middle of your background that is 1.5"x5.25"
  • Trim the top and bottom of your red piece with a thin black piece of card stock. 
  • Clear emboss you stamped image of the couple dancing from the Love You More - Heart Dance stamp set. 
  • Place silver foil over embossed image and run through your hot laminator.  Trim around the couple dancing.
  • Add your trimmed foiled couple from the Love You More - Heart Dance stamp set. I raised them up with foam tape.
  • Add White Nuvo Drops to the center of the squares of the Square Illusion stenciled background.  It adds some dimension to the card.
  • Add a few White Nuvo Crystal Drops randomly to finish the card

Here is one more picture of the full cards ...

What do you think of the foiled couple? Isn't a neat technique?  It does work better with outline images, but play around ... you never know what you might come up with.

TRHD Products used:

For more inspiration, updates, and news make sure to check out these places

The Rabbit Hole Designs YouTube

I have had so much fun playing with the Love You More - Heart Dance stamp set and the Square Illusion stencil.


Thank you so much for stopping by and spending some time with me.

Until next time ... Hugs & inky fingers!   -Nic-


0

Ai - My Top 10 of 2019

Wednesday, December 18, 2019
Hello !!
I am up over on the Art Impressions blog with my top 10 cards of 2019. Hop on over to check it out ... HERE.

First off I would like to wish everyone Happy Holidays and best wishes for a wonderful New Year! Can you believe 2019 is almost over?  This year just flew by for me.  You have all welcomed me so graciously this past year.  I truly have had a blast here at Art impressions with all of you.

In no particular order I am sharing my top 10 card of the year.  

Succulent Window


Tulips and A Tired Easter Bunny 


Penguin Wave


Tears Ran Down


Here's the Skinny

Succulent Shaker


Wag Your Tail


Santa Rocking


Home Is Where You Park It
I once again want to thank you for welcoming me so graciously to the Art Impressions team.  I cannot wait to see what 2020 has in store for all of us and Art impressions ...

Until next time ... Hugs & inky fingers!


0

Ai - Funny Farm Animal Challenge

Thursday, December 12, 2019
Hello Ai fans!!
I am back with another challenge.  This go round it is Funny Farm - Animal Challenge.
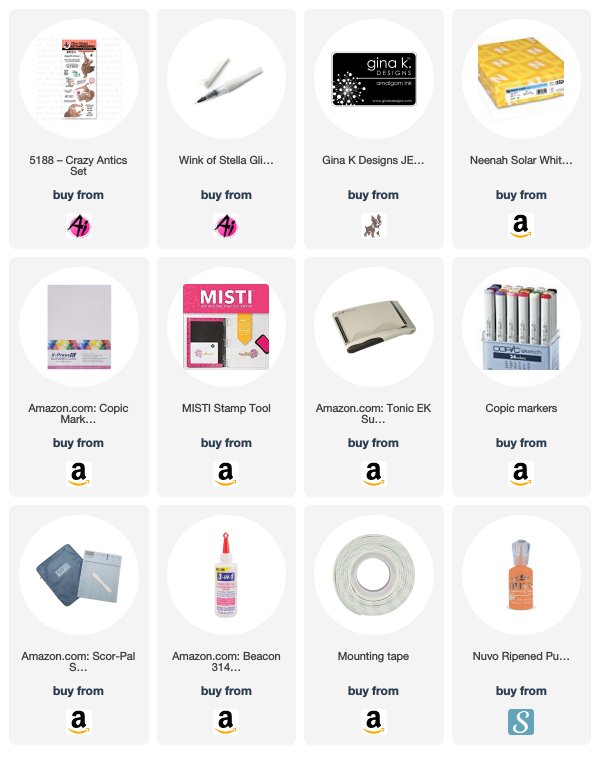
I am using the new Crazy Antics stamp set from Art Impressions.  Isn't this anteater fun?


I started by using a stencil on my background.  It was one I had in my stash.  I then proceeded to color my anteater. After I Copic colored him, I mounted it on a blue card base and added that to my stenciled background. 


From here I colored my balloon and then I added Wink of Stella it.  I think it really makes the balloon shine with out any real effort.


 I fussy cut my sentiment.  I liked the curve to the stamped image so I wanted to keep it rounded, and so fussy cutting it was. From there I added it to my card with foam tape. I liked how my balloon looked so I added Wink of Stella to my glass too.


I finished off my card by adding the stamped image of the ants carrying the cake away. I used foam tape to pop it off the card. Isn't that just icing on the cake? I added Nuvo Drops to give the card balance.


Here is one more look at the finished card ...


 I hope you enjoyed my take on the Funny Farm Animal Challenge over on the Ai blog.  Hope on over to the current challenge blog, you can win prizes; and who doesn't love winning a prize??

Copics used:
BG000, BG01
C0
E41, E43
W1, W3, W5, W7
Y13, Y15, Y17
YR04, YR07

Until next time ... Hugs & inky fingers!


0

Ai - Dreaming Santa

Wednesday, December 11, 2019
Hello Ai fans!!

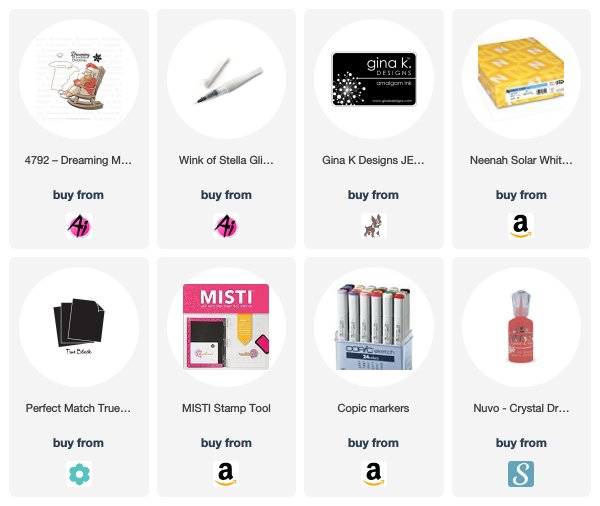
I am sharing a card over on the Art Impressions blog. I made using the 4792 Dreaming Mini Shaker stamp set from Art Impressions.  I love the classic look of this Santa. 
I started by Copic coloring my Santa image from the Dreaming Mini Shaker set. I labeled all of the Copic colors below; the color along with what image was colored. It can be hard when I use a lot form the same color family to figure out what I colored where. 
I decided I wanted a dream bubble so I drew it freehand with a pencil first.  I used my electric eraser to redo a couple of my clouds ... I will never be perfect as I am NO artist.
 -LOL-
I was finally ok with my final bubble so I used my line marker to draw over my pencil line.  As you can see I didn't follow it exactly so I used my electric eraser to remove any pencil mark left over. 
I felt like it was a little plain so I added a little Wink of Stella to my Santa beard and to his Santa hat fur. I finished it off with a few red Nuvo Drops.
Here is the finished card one more time.  I love how it represent the classic Christmas look.  I am a sucker for Christmas and good ol' Christmas charm.  

Thank you so much for stopping by and spending some time with me.  Please come back again soon soon and see what myself and the rest of the team over at the Art Impressions blog have been up to.

Copics used:
Santa Hat- C00, C1, C3
Skin - E00, E11, E13
Cat - E15, E17, E19
Rocking Chair - E43, E44, E47 
Santa Pants - N3, N5, N9
Cheeks - R21, R22
Santa Clothes - R35, R37, R39
Santa Beard - W00, W1, W3


Until next time ... Hugs & inky fingers!

0

TRHD - Love

Monday, December 9, 2019
Hello everyone!

It's Niccole again back again to share another card I made using one of The Rabbit Hole Designs new stamp sets. I am up over on their blog! Go and give them some well deserved love!


For today's card I used the Put A Bow On It stamp set. I love how versatile this stamp set is.

I have a lot of pictures today for you. This way I can show you each card and a close up of the foil on each card.


How to create this card:
  • Square card base that is 4.25"x4.25".
  • Stamp the bows stamp from the Put A Bow On It  stamp set with Versamark Ink on a 3.75"x3.75" square.
  • Add clear embossing powder and heat emboss bow image.
  • Cut a piece of foil to cover embossed image.
  • Run bow image with foil through laminator.
  • Remove foil to reveal foiled image.
  • Frame out square stamped image with coordinating color to frame it.
  • Add image to square card base.
  • Stamp the word LOVE from the Put A Bow On It stamp set in the bottom right corner at an angle coinciding with the heart shape.
  • Add a few black Nuvo Crystal Drops randomly to finish the card.
Here is one more picture of the full cards ...


What do you think of the three foiled Put A Bow On It cards? Which is your favorite I really love how they turned out.

TRHD Products used:

For more inspiration, updates, and news make sure to check out these places

The Rabbit Hole Designs YouTube

I have had so much fun playing with the Put A Bow On It stamp set today.

Thank you so much for stopping by and spending some time with me.

Until next time ... Hugs & inky fingers!   -Nic-


0

Search This Blog

Powered by Blogger.