Ai - So Much Joy

Wednesday, February 26, 2020
Hello Ai fans!!

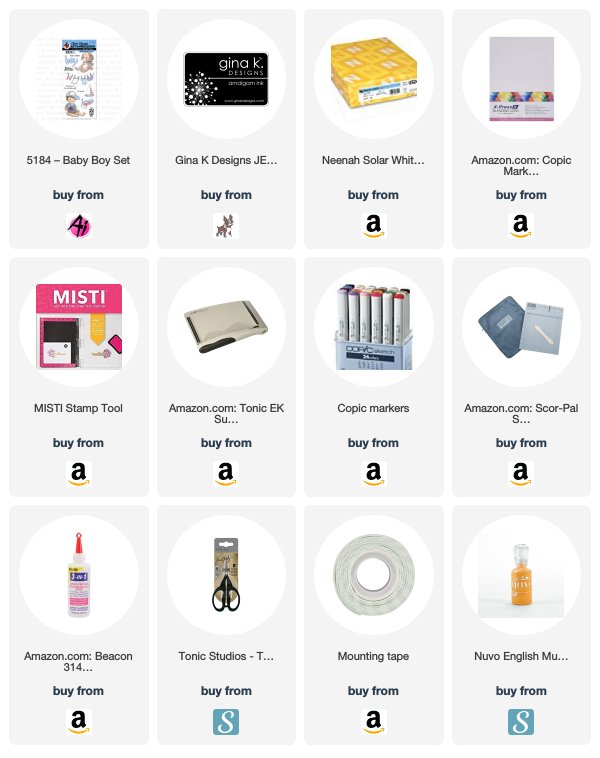
Happy Wednesday everyone.  I am over on the Art Impressions blog sharing a card I made using the Baby Boy set from Art Impressions.  I love this set ... it is so timeless, so classic.
 I started by coloring the bear.  I used my Copic markers.  I wanted to use primary colors for this one.  Usually you see pastel colors all the time for baby cards.  I wanted to shake things up a bit ... HAHA,  rebel I know. I fussy cut the bear out but decided I still wanted him on a white background.
I did not have the right color red for my card base so I used my Copic markers to make a base card. I used my middle shade of red, Copic color R37.  I trimmed my white piece, added it to my red base and glued on my bear.
From there I masked off the boy  in the sentiment and only stamped the "So much joy in this little" in black ink.  I used the solo stamp BOY and stamped it last.  I wanted it to stand out.  I used the same color Copics to color in the word "Boy" I finished the card off with some Nuvo Drops for some dimension.

Here is one more look at the finished card ...
Wouldn't it make a cute birthday card? Or even a card to send with a gift after the baby arrived? Or a just because card.  

Thank you so much for stopping by and spending some time with me today.  Please head over to the blog and see what the Ai team has been up to.

Copics used:
B12, B14, B16
R35, R37, R39
Y13, Y15, Y17

Until next time ... Hugs & inky fingers!

0

Ai - Movers & Shakers Challenge

Thursday, February 20, 2020
Hello!!

I am back again sharing another card for the Art Impressions 
Challenge ... This week it is; Movers and Shakers Challenge. I am using the new 
Heart Twist Set along with the Twist Frame Die.


I started by using a heart stencil from my stash to cover 75% of my card front. I then cut out the center window with my die that coordinates with the stamp set. I used the Happy Birthday that came with the window die.  I just used the left over paper that was stenciled. I took my blended brush and ran over the image to tint it pink so it stood out against the white background.


As you can see above I colored both sides of my mouse image and glued them together.  I put it in to make sure it swiveled back and forth without sticking anywhere.


From here I trimmed out a pink frame. You can see a slight indent from where the die cuts out the window. This allows you to get the perfect frame around with a little fussy cutting. I finished it off with some clear confetti sequins for a little bling.


Here is one more look at my finished card.  I hope you have enjoyed my take on the Movers & Shakers Challenge. I had so much fun with this card.  I will definitely be making more  with this set. Please head over to the Ai blog and play along ... you could win a fabulous prize.  Have a great day! 

Copics used:
C0, C1, C3, C5, C7
R11, R22
RV21, RV23, RV25


Until next time ... Hugs & inky fingers!


0

Ai - Quail of A Good Time

Wednesday, February 19, 2020
Hello Ai fans!!

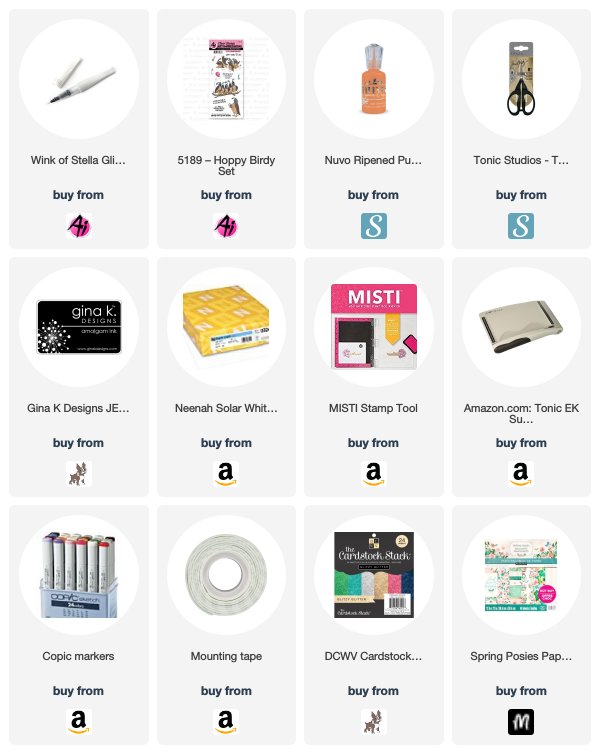
I over at the Art Impressions blog today to share a birthday card I made using the stamp set Hoppy Birdy Set by Art Impressions.  This is such a fun set.  I can't wait to use the "Tweeting Bird."
I started by applying my pattern paper to my card base.  I added a square chocolate glitter piece to my base using foam tape.  I trimmed my white piece smaller. I stamped my birds and Copic colored them. I adhered it to my chocolate glitter piece.  I added Wink of Stella to the balloon for some dimension.
I stamped my birthday sentiment onto a white piece of card stock that trimmed down to fit another piece of chocolate glitter paper.  I placed my sentiment at an angle offset on the square with my birds.  I finished it off with some orange Nuvo Drops.

Here is one more look at the full card ...
Thank you so much for stopping by and spending some time with me.  Please come back again and see what all of us on the Ai team have been up to over at their blog

Copics used:
BG000
C0, C1, C3
E41, E43, E44
E47, E49
R22
Y15, Y26, Y28 
YR04, YR07

Until next time ... Hugs & inky fingers!


0

Ai - Happy Anniversary

Wednesday, February 12, 2020
Hello Ai fans!!

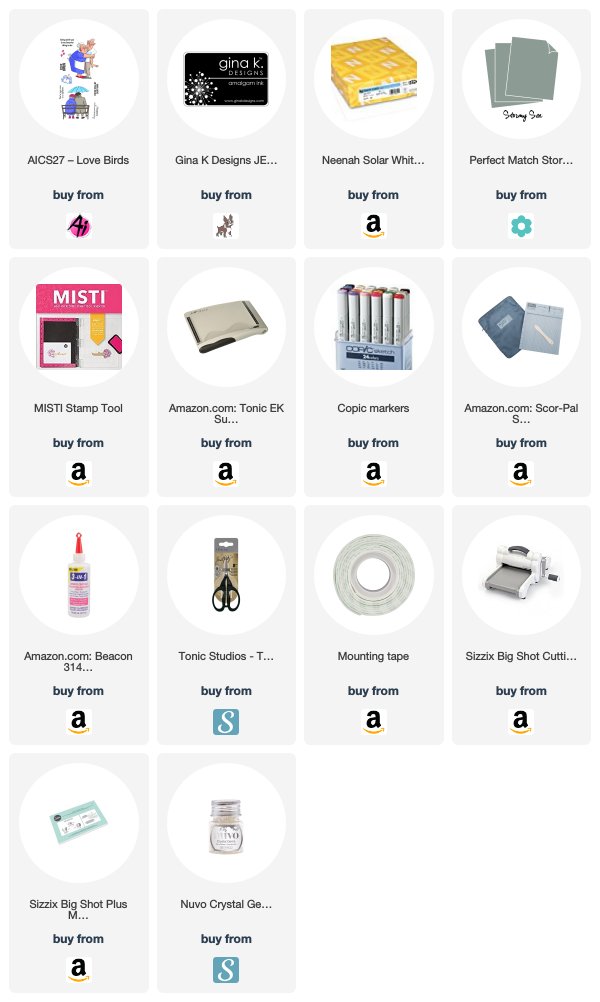
I am up on the Art Impressions blog today to share a card I made using the Love Birds stamp set.  Have I told you guys ... I LOVE this stamp set from Art Impressions!
I started with my A2 card base. I cut a frame out of the same colored card stock. I then cut the same frame out of my white piece of card stock that I had stamped with my couple and Copic colored. I wanted it so I could inlay it into my colored frame. 
I stamped "Happy Anniversary" on the bottom of my white piece. I used foam tape on the back and added to my card base.  I finished it off with clear gems.  They looked like rain drops to me.  What do you guys think??
Thank you so much for stopping by and spending a little time with me. Head on over to the Ai blog to see what the Ai team has been up to and make sure to give them some love.


Copics used:
B91, B93, B95, B97, B99
E00, E11, E34, E37, E39, E42, E43, E44, E47
R24, R27, R29
T2, T4, T6, T8
W1, W3, W5, W7


Until next time ... Hugs & inky fingers!

0

Ai - Gift Card or Gift Tag Challenge

Thursday, February 6, 2020
Hello!!

I am back again sharing another card for the Art Impressions 
Challenge ... This week it is; Gift Card/Gift Tag Challenge.
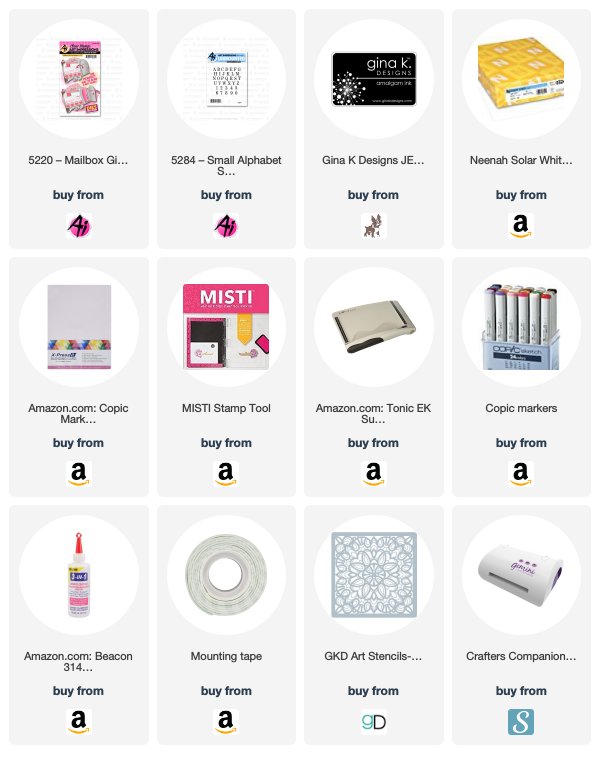
 I started with a black card base.  I added a stenciled background .  From there I Copic colored my mailbox and all of the coordinating pieces.  I cut them out with my Gemini Jr. I added the lettering to my mailbox with the new stamp set called Small Alphabet Set
I added the arrow on the from of the mailbox.  This is what holds your door closed.  I also added a flag for added detail to the top of my mailbox. It actually moves!! 
As you can see I added a heart which I drew freehand to my flag, just a little personal touch. You can also see how nicely the gift card fits into the mailbox.  I just love it!! I finished off my card by adding a couple of the flowers that come with the stamp set.  It also comes with a die. 
Here is one more look at my finished card.  I hope you have enjoyed my take on the Gift Card/Gift Tag Challenge. I had so much fun with this card.  I will definitely be making more things with this set. Please head over to the Ai blog and play along ... you could win a fabulous prize.  Have a great day!

Copics used:
C1, C2, C3, C5
E55, E57, E59
G43, G46
V12, V15, V17
Y13, Y15


Until next time ... Hugs & inky fingers!

0

Ai - Wood You Be Mine?

Wednesday, February 5, 2020
Hello Ai fans!!

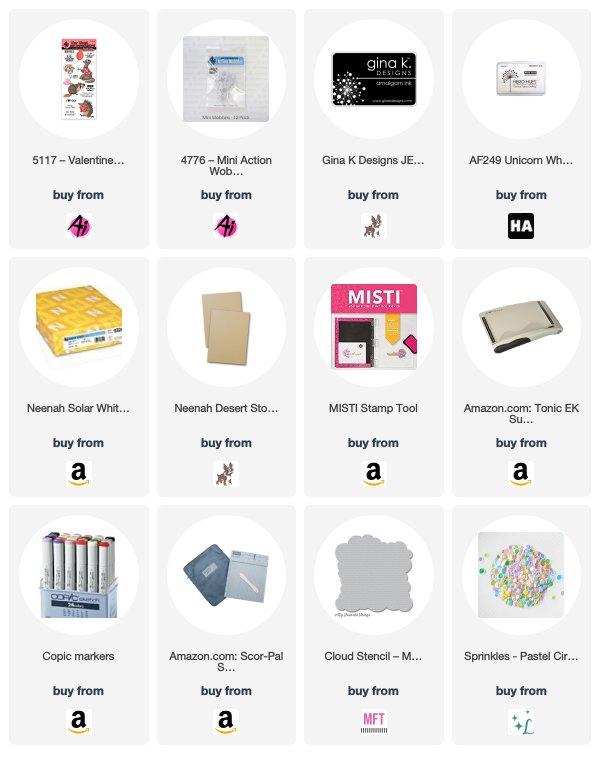
I over on the Art Impressions blog  today using the  Valentine Critters stamp set from Art Impressions.  Aren't these little animals fun?

Here is a look at the finished card.  Doesn't he look like he is glowing?  Like he is so happy and in love? Cute lil' beaver!
I started by stenciling my clouds onto the background of my kraft card stock.  
 I added three rows of clouds so it looked like my beaver was floating on cloud 9.  Doesn't the white really make it glow?
I added the sentiment "Wood you be mine?" to the bottom right corner of my card.
  I added my beaver to an Action Wobbler.  It really adds a punch in my opinion.  Besides, he shakes back and forth likes hes dancing. I finished the card off with some pink sequins for some added color and shimmer.
Here is one more image of the finished card.  I just love how happy this little guy looks, the look of love!
I really like how this little guy turned out ... like he is floating on cloud 9 and so in love.  Make sure you head over to the blog soon and see what the Ai team is up to. 

Copics used:
E41, E42, E43
E44, E47, E49
R11, R22
RV21, RV23, RV25
W00, W1
Y00

Until next time ... Hugs & inky fingers!

0

Search This Blog

Powered by Blogger.