KS - NY Comedy

Thursday, November 28, 2019
Happy Wednesday everyone!! 

It is release week over at Kindred Stamps ... can you say ... YAY!!
I am sharing a few cards today for the Kindred Stamps November Release.  The NY Comedy set is so fun. I just LOVE it ... It makes me smile just looking at all the images in this set.
For my first card I decided I wanted to use the "You're Sponge Worthy" sentiment.  I had this round sponge and though ... PERFECT! I started with a black card base.  I added a narrow white card panel off center.  I then added a thin gold strip down one side. I trimmed down my round crafting sponge to about a 1/4" thick and glued it to my card. I added my sentiment to the bottom of my card in black ink. 
I Copic colored my NY Comedy gal and fussy cut her out. I added Wink of Stella to her hair.  Do you like the little eye lashes I added to her? I used foam tape to the bottom half of her and glued the top half to the sponge.  This evened her out on the card.  I finished off my card with some black Nuvo Drops.
 For my second card I chose to use the "Yada" sentiment.  I started with a navy card base.  I added a white card panel that was framed in gold glitter paper. I used my Misti and repeated the "Yada, Yada, Yada" sentiment vertically down the left side of my card.  I altered the card to made the word stand out. From there I Copic colored my NY Comedy fella. I added him to my card with foam tape so he stood out a little bit.
As you can see I finished off my NY Comedy fella with a plaid shirt and shiny glasses.  I did that by adding Glossy Accents to the glasses. I added a shadow to him so he didn't look like he was floating in thin air. Didn't he turn out cute?  
For my last card. I colored my NY Comedy guy  with Copic markers. I decided I wanted a one layer card so I masked him so I would not transfer color over him. I stenciled the background in a light blue with the Spaceship Paneling stencil from Kindred Stamps coming from the right side of my card trailing off  as it reached my colored gentleman.  I added my sentiment to the bottom of the card.
 I used Wink of Stella on his hair to make the lighter parts shimmer. I finished it off with black Nuvo Drops. I really love how the Wink of Stella turned out, I only added it to the light gray areas. What do you think?
Here are all three of the  cards together.  I hope you love the new set NY Comedy stamp set just as much as I do. 

Which card is your favorite from the NY Comedy stamp set??  I love a little something from each card this time!

The entire Kindred Stamps October release will be available Friday, November 29th at 8am PST/11am EST. Be sure to subscribe to the Kindred Stamps blog to see a daily line up of sneak peeks from our amazing Design Team and see the full product release on Friday! Come join the Fan Club and release event to be part of the release fun, and you may just win some Kindred Stamps credit!!


Who doesn't love free money?? I'm so excited to get to share a little Kindred Stamps love with you guys! I will pick someone who commented on my blog, with their email to get a $10 store credit on October 2nd, 2019. I cannot contact you if you do not leave me your email address.


Thank you so much for stopping by and loving Kindred Stamps as much as I do! I can't wait to share with you all again real soon.  

Until next time ... Hugs & inky fingers!
-Niccole-


7

Ai - Anything Goes Challenge - Baby Boy

Hello Ai fans!!

I am back with another challenge for Art impressions.  This weeks challenge is Anything Goes ... Baby.
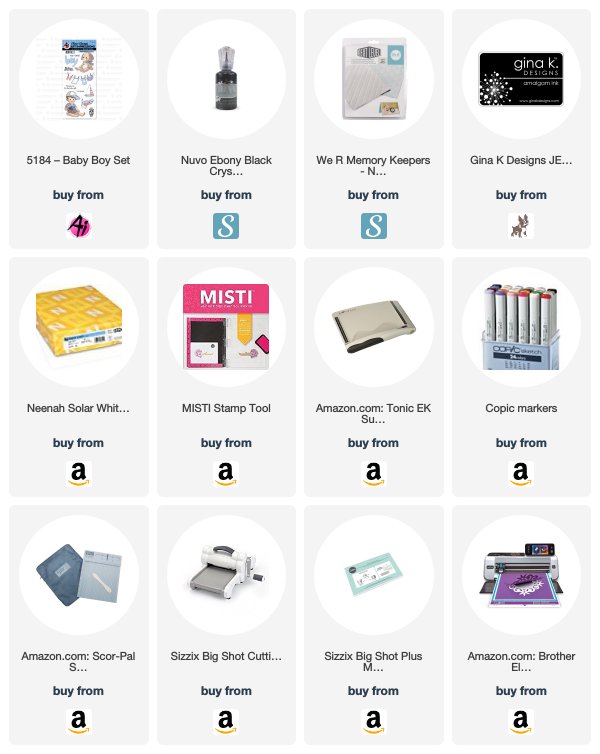
Isn't this a cute set?  I wanted to do something different; well other than a welcome baby card.  I love that the set has a "Thank you for the baby gift" stamp in the set.

 I started by trimming down my white panel and embossing it with a quilted pattern. I glues it down to my white card base. I added two Circle Double Stitched circles with the stamp sentiment saying "Thank you for the baby gift" I Copic colored the airplane for the stamp set.  I cut it out with my Scan N Cut. I glued it down to my circles


From there I glued my circle to my main panel. I also colored the clothesline and clothes with my Copic markers and cut them out as well.  I glued the clothesline down at an angle to the top right of my card.  I finished it off with some black Nuvo Drops. I really love how it turned out. 


Here is one more look at the card front.  I hope you enjoyed my take on the Anything Goes Challenge ... Baby over on the Ai blog.  Hope on over you can win prizes, and who doesn't love a good prize??

Come back again soon and see what I have been up to...

Copics used:
B12, B14, B16
R35, R37, R39
Y13, Y15, Y18

Until next time ... Hugs & inky fingers!


0

TRHD - Not a Valentine Card

Hello everyone!

It's Niccole back again to share another card I am sharing over on The Rabbit Hole Designs blog today.  It features a new stamp set and stencil recently released. 

For today's card I used the Sassy Sentiments - Anti Valentine stamp set and the Circle Illusion stencil.


How to create this card:


  • White A2 card base
  • Stamp repeatedly with your Misti the heart from the Sassy Sentiments - Anti Valentine  stamp set on the right side vertically  Copic color and set aside
  • Add Glitz Gel in three colors to a piece of gray card stock with the Circle Illusion stencil
  • Let dry
  • Trim panel and apply to left side of card base
  • Add a thin strip of black card stock to incorporate the two pieces together
  • Add black Nuvo drops randomly to hearts
  • Stamp sentiment from Sassy Sentiments - Anti Valentine stamp set to thin strip of white card stock
  • Cut a banner end to one side of sentiment strip
  • Add sentiment strip to card with foam tape
Here is one more picture of the full card ...
What do you think of the change from red to black with the Glitz Gel?  I really love how it turned out.

TRHD Products used:

For more inspiration, updates, and news make sure to check out these places

The Rabbit Hole Designs YouTube

I have had so much fun playing with the Sassy Sentiments - Anti Valentine stamp set and the Circle Illusion stencil today.

Thank you so much for stopping by and spending some time with me.

Until next time ... Hugs & inky fingers!   -Nic-

0

Ai - Santa Rocking

Wednesday, November 27, 2019
Hello Ai fans!!

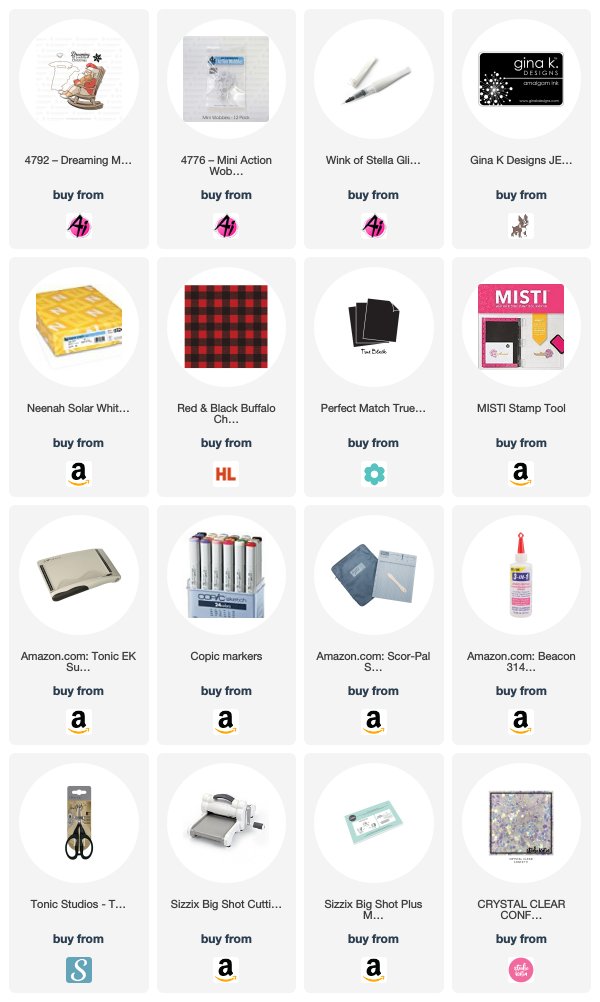
I am over on the Art Impressions blog today sharing a card I made using the 4792 Dreaming Mini Shaker stamp set from Art Impressions.  I love this Santa so much. As a matter of fact I will be sharing another card next week using this same set.  Can you tell I love him??
I started by Copic coloring my Santa image from the Dreaming Mini Shaker set. I cut him out using the coordinating die that comes with the stamp set. I added Wink of Stella to his beard and the fur on hat after I had taken the picture.  He looked a little plain ... besides who doesn't like a little shimmer?
 I set him aside and added some pattern paper to the bottom portion of my card to emulate a floor.  I love the buffalo plaid.  I added a tiny strip of black paper to define the area. I added the Action Wobble that comes also with the stamp and coordinating die.  You can also buy packages of Action Wobbles over at the Ai site. I love these things! They add so much dept to your card with out you even trying - LOL
I don't feel like this card needs much.  The Santa is definitely my main focal point. So I finished it off with some crystal gems.  I think it looks like it is snowing.
Doesn't the Action Wobble really make the Santa stand out?  When you flick him, he actually rocks! 
Here is the finished card one more time.  I really like how it represent the classic Christmas look.  I am a sucker for Christmas and good ol' Christmas charm.  

Thank you so much for stopping by and spending some time with me.  Please come back again soon soon and see what myself and the rest of the team have been up to.

Copics used:
C00, C1, C3
E00, E11, E13
E15, E17, E19
E43, E44, E47 
N3, N5, N9
R21, R22
R35, R37, R39
W00, W1, W3


Until next time ... Hugs & inky fingers!

0

Ai - Penguin Wave

Wednesday, November 20, 2019
Hello Ai fans!!
I am up over on the Art impressions blog today with another card using the exclusive SSS stamp set.
Like I said last week ... we have an exclusive stamp set only available at Simon Says Stamp.  I LOVE this set.  It is so fun! And what a bonus ... it's a Flip Card! Although this week I am not showing you another flip card.
I am showing you a spinner card.  Yes, a spinner card!  When you have a front and back identical stamped images, it is a MUST in my opinion to make a spinner card! 
No you are not seeing things LOL and no it is not a mistake.  I am showing you the image rolled over so you are seeing the back side.  See how they fit perfectly together?  
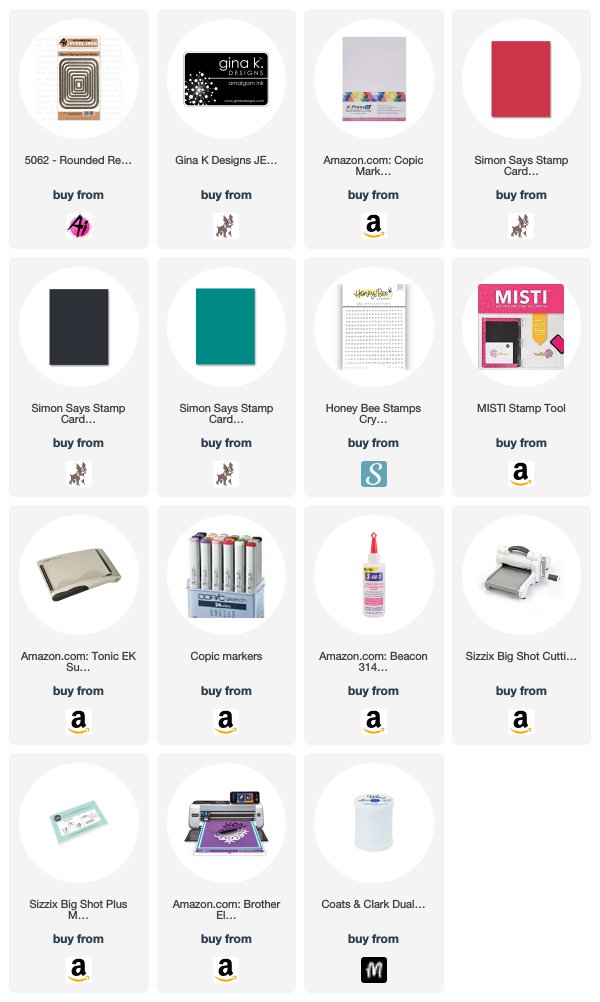
I cut two rectangles using the Rounded Rectangle A2 Double Stitched Dies.  I cut the smaller one from the red and black paper.  I used one bigger along with the smaller one to make a frame with the turquoise paper.  
I sandwiched the thread between the two images and the frame so everything is hidden.  You can twirl it to make it spin when it opens or you can leave it and when it opens it waves at you.  Both are adorable! I finished it off with a few crystal gems since I did not add a sentiment.
Here is a close up of the adorable colored penguins.  Aren't they the cutest little penguins you have every seen?  You could color these in so many combinations.
Here is a video of the spinner in action.  What do you guys think?  It is really not hard at all.  People will think it took forever to make, when in reality the hardest part is getting your frame and card base to line up LOL
Here is one more picture of the card.  I absolutely LOVE how this card turned out.  I love that it is not your traditional Christmas/winter colors. I love that this set is so versatile.  I have shown you a flip card and a spinner card, but yet you still could make a standard card as well ... oh the possibilities!

Thank you for stopping by today!  Please head on over to Simon Says Stamp to pick up this adorable SSS Exclusive Holiday Flip Card before it is sold out.  It will not return once it is sold out.

Copics used:
BG11, BG45, BG49
C1, C3, C5, C7, C9
G07, G09
N0, N3, N5, N7
R21, R22, R24, R29
W00, W1, W3
Y13, Y18

Until next time ... Hugs & inky fingers!

0

Ai - Couples Card Challenge

Thursday, November 14, 2019
Hello Ai fans!!

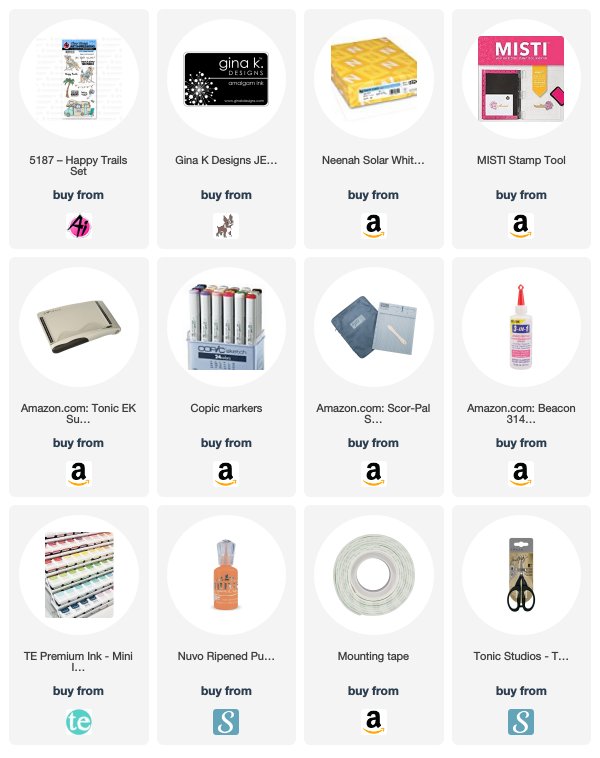
I am here today with another challenge for Art Impressions.  This one is Couples Card Challenge using the newly released set; Happy Trails.  I love this set!
I started by ink blending on my paper with red, orange, and yellow.  I absolutely love the sunset look the ink gave. I followed by using the Circle Double Stitch Dies to cut a circle in my blended piece.  

I set the circle piece aside and stated Copic coloring my Happy Trails images.  I chose the woman in a chair, the man in a chair, and a palm tree.  These were really easy to color and to cut out. I stamped the sentiment "Home is where you park it" on the bottom center of my card.

 From here I glued down my Circle Double Stitched circle to my card base.  I think it looks like a sunset ... don't you?


I finished my card off by adding my stamped images to the card.  As you can see with palm tree ... I glued the bottom down but added foam tape to the top of the tree to give it more dimension.  I added my couple to the card.  To finish it off I added Wink of Stella to my ladies glasses to make the glass shimmer.

Here is one more look at the finished card ... it definitely makes me wanna go some place warm and dig my toes in the sand.  I added orange Nuvo Drops to finish the card off. 

This Happy Trails set is so much fun.  thank you for dropping by.  Please head on over to participate in the Couples Card Challenge ... you could win something awesome!

Copics used:
B12, B14, B16
BG11, BG45, BG49
C3, C5, C7
E00, E11, E43, E44
R11, R35, R37, R39
W2, W4
Y13
YG05, YG07, YG17
YR02, YR04, YR07

Until next time ... Hugs & inky fingers!


0

Ai - Snowman Flip

Wednesday, November 13, 2019
Hello Ai fans!!
I am up over on the Art impressions blog today!
Do you spot something new ... SSS Exclusive Holiday Flip Card Set 5207
As you can see we have an exclusive stamp set only available at Simon Says Stamp.  I LOVE this set.  It is so fun! And what a bonus ... it's a Flip Card!
I started by using my flip die to cut my red card base. I trimmed the bottom with rose gold glitter paper.  I added a diagonal stripe paper to my sentiment square to frame it out.  I randomly added white Nuvo Drops to give the impression of snow. I added my forward facing snowmen as if they were holding up the "Wishing You" sign.
I did exactly the same to the inside of the card.  Except for this time the sentiment says "A very Merry Christmas." Isn't it cool how the sentiment flips when you open the card up?
Here is a close up of the front of my card and my colored snowmen.  I used my Copic markers to color these cute fellas! I also popped up my snowmen with foam tape for added dimension. Doesn't the glitter really make it sparkle?
Here is a close up of the inside with the cute lil' snowman butts! I also raised up these guys with foam tape as well. I actually did everything identical to the front of the card except the snowmen.
Here is one more of the front of the card laying flat so you can see where the flip die cuts along with the placement of everything.
And a flat one of the inside as well.  I love how this card looks more complex than it really is.  Using the flip feature is SO easy.  Everyone should have this die in their stash!

Thank you for stopping by today!  Please head on over to Simon Says Stamp to pick up this adorable SSS Exclusive Holiday Flip Card.

Make sure you come back next week.  I just might have another adorable card using this fun SSS Exclusive stamp set

Copics used:
BG11, BG45, BG49
C1, C3, C5, C7, C9
G07, G09
N0, N1, N3
R21, R22
R24, R27, R29, R35, R37
V20, V22, V25
W00, W1, W3

Y13, Y18

Until next time ... Hugs & inky fingers!


0

Search This Blog

Powered by Blogger.