Ai - Masculine Happy Birthday

Wednesday, January 29, 2020
Hello Ai fans!!
I am over on the Art Impressions blog today sharing another card I made using the Baby Boy stamp set from Art Impressions. I wanted to show another masculine card. I love sets that are versatile.
I started by layering my card base with a white piece I used an embossing folder on.  I then layered a green strip across the center. I added the sentiment "Happy Birthday" in the top right on the green piece. The "Happy Birthday" sentiment is a stamp from the Meerkat set. I actually only used a portion of the stamp that says "Happy Birthday from the Meerkat".  I added a white strip in the center. 
I finished it by stamping three sailboats across the front. I Copic colored them with matching colors. I finished it off with yellow Nuvo Drops. 
Here is one more look at the finished card.  I really like the polished look of it and how it could be really for any occasion for anyone from a young boy to an older gentleman just like the card I shared last week. 
I think we all probably need more masculine cards in our stash!  :-)

Copics used:
B12, B14, B16
C0, C1, C3
G40, G43, G46
Y13, Y15, Y17

Thank you so much for stopping by.  Please come back soon and see all of the wonderful creation by the Ai team over on the blog!

Until next time ... Hugs & inky fingers!


0

Ai - Shades of Pink Challenge

Thursday, January 23, 2020
Hello Ai fans!!

It is time for another challenge over on the Art Impressions blog.  This time it is ... Shades Of  Pink.
 I started by stamping the front and back of my envelope with my Misti so it stamped evenly, to create a background piece.  I colored the heart seal and the stamp pink. I also colored my mailbox and cut it out using the coordinating dies. Now for  the fun part ...
 I arranged my envelopes that I had previously colored and cut out, and placed them how I would like them falling out of my mailbox.  I used the Press & Seal technique.  As you can see I pressed it down onto my envelopes.
See how they are still perfectly in place.  From here I glued them and set it aside to dry.  So instead of five separate pieces I now have one piece. If you have never tried it I recommend it.  It is definitely a game changer.  
 I did the same technique for the bottom door on the mailbox.  For these enveloped I added more dimension by popping a few of them with foam tape. 
Here is a little different angle to show how much the doors actually open.  Such a fun element to the die that comes with the stamp set. I finished it off with adding the handles to the doors.  I popped the finished mailbox up with two layers of foam tape and added it my card.  I added my sentiment strip to the bottom of my card.
Here is one more look at my finished card.  I hope you have enjoyed my take on the Shades of Pink Challenge. I had so much fun with this card.  I will definitely be making more things with this set. Please head over to the Ai blog and play along ... you could win a fabulous prize.  Have a great day!

Copics used:
C1, C5, C7, C9
RV21, RV23, RV25 

Until next time ... Hugs & inky fingers!

1

Ai - Couples Frame

Wednesday, January 22, 2020
Hello Ai fans!!
I am over on the Art Impressions blog today sharing a fun project I made using the Love Birds stamp set from Art Impressions.  I had so much fun with this one.  It could be used in so many different ways and for so many different occasions.
I started by stamping my image of the couple hugging onto white paper.  I Copic colored it with shades of gray, black, and red.  This is my all time favorite color combo.  I might be dating myself BUT that was the color combo of the wallpaper ... YES you heard me right, I said wallpaper LOL that I had my room decorated with in high school.
I added Wink of Stella to my lady's hair to give her gray some shimmer. I also added some Crystal Effects to her glasses to give them some dimension and shine.  I fussy cut my couple out. From there I added one of the Action Wobbles onto the back of my couple.  I found a frame from Michaels. A $2 frame at that ... YAY! AND ... it was already painted black.
I figured out where I wanted my couple and I attached my stamped couple to the frame. And VOILA ...

Here is one more look at the completed frame.  What do you think?  Cute right?  Now to figure out what picture of my husband and I do I want to put in the frame ... Hmm! 
Thank you so much for stopping by.  Please come back soon to see what the Ai team has been up to and check out their blog for great project like this one!

Copics used:
B0000
C0, C2, C4
E00, E11
R11, R22, R24, R27, R29
T5, T7, T9

Until next time ... Hugs & inky fingers!

0

Ai - Enjoy The Day

Wednesday, January 15, 2020
Hello Ai fans!!
I am over on the Art Impressions blog today sharing a card I made using the Baby Boy stamp set from Art Impressions. I wanted to show that this can also be used for a masculine card and not just a baby boy card.
I started by layering my card base with a white piece I used an embossing folder on.  I then layered a blue framed sentiment strip across the center with the sentiment "Enjoy the day" in the center. I finished it off with yellow Nuvo Drops.
From here I Copic colored four of my sailboats identically.  I fussy cut them out.  It's weird because sometimes I enjoy fussy cutting instead of dragging out my Scan N Cut.  I added a sailboat to each corner of my card with foam tape to give some dimension. 
Here is one more look at the finished card.  I really like the polished look of it and how it could be really for any occasion for anyone from a young boy to an older gentleman. 
What do you think of the card being masculine and not a "Welcome Baby" card.  I need more masculine cards in my stash!  

Copics used:
B12, B14, B16
C0, C1, C3
R35, R37, R39
Y13, Y15, Y17

Thank you so much for stopping by.  Please come back soon and see all of the wonderful creation by myself and all of the Ai team over on the blog!

Until next time ... Hugs & inky fingers!


0

Ai - Happy Retirement!

Wednesday, January 8, 2020
Hello Ai fans!!

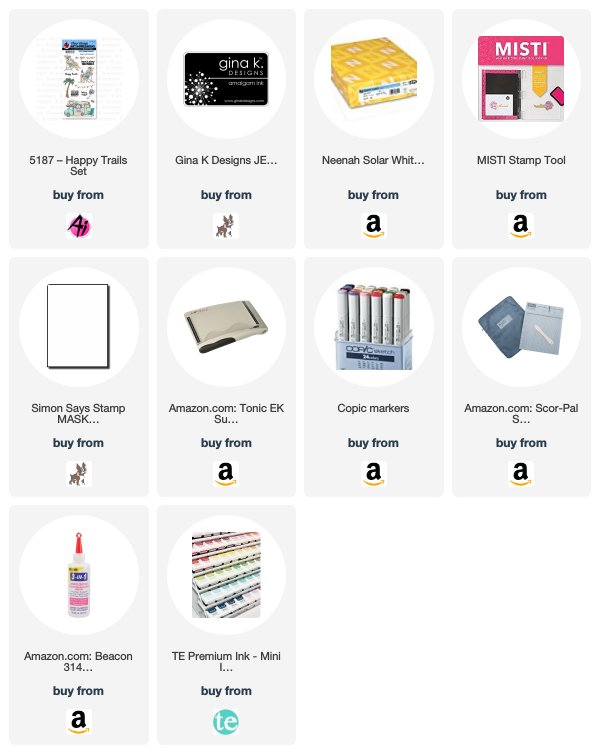
 I am over on the Art Impressions blog today using the newly released stamp set called Happy Trails.  This stamp set is so much fun. Tomorrow you will see another card using this set for the current challenge going on.
I knew as soon as I saw this set I wanted a chill, laid back retirement card.  I think I achieved it with this card; wouldn't you agree??
I started by stamping the images all at the same time with my Misti. I lined up the palm tree, the sentiment, and beach bum and stamped them at once.  I then stamped them a second time onto my masking paper and covered up my palm tree and beach bum.
Ok, here is where the magic happens.  I took another piece of masking paper and made a horizon line.  So I have the bottom portion of my card covered along with my palm tree and beach bum.  I ink blended some blue in to emulate the sky. From there I reversed the direction of my straight piece of masking paper and covered up the blue I just applied.  I ink blended some brown to emulate the sand. Peel off all your masking paper and reveal the magic scene and ares to Copic color. From here you Copic color your images and that's it, you are done.

Here is the full card again.  Isn't a simple one layer card all you need sometimes? I am so please with how this turned out.  You know you can save your cut out masked images to reuse another time, right?

Happy Wednesday everyone! Thank you so much for stopping by please come back again soon and see what I have been up to. 

Copics used:
B00, B12, B14, B16
C1, C3, C5
E00, E11, E43, E44
R11, R35, R37, R39
Y113, Y15
YG05, YG07, YG17
YR02, YR04, YR07

Until next time ... Hugs & inky fingers!


0

Search This Blog

Powered by Blogger.