Ai - All Layered Up Challenge

Thursday, May 28, 2020
Hello!!

I am back again sharing another card for the Art Impressions 
Challenge ... This week it is; All Layered Up Challenge. 

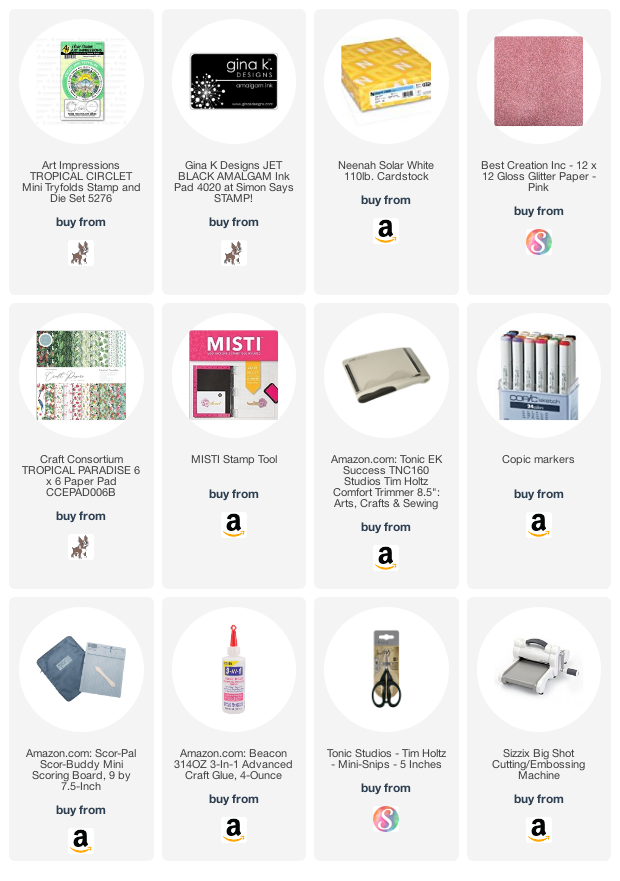
I am using the new Tropical Circlet MFT Set


 I started by stamping my first circle image on the front of my panel.  I added the pink glitter paper around it. I Copic colored my palm leaves.  I added the pattern paper to the bottom portion of my card.  I made all three panels the same other than the stamped image.


 As you can see I did the same on this panel.  Pattern paper and glitter paper to the bottom portion.  A pink glitter circle around my stamped image.  I Copic colored my beach scene.


For the inside image I added the pink glitter circle around the final image. I Copic colored my water scene.  I absolutely love the sentiment on this circlet ... "Wishing you a bright sunny day that's perfectly perfect in every way."


Here is one more look at my finished card.  I hope you have enjoyed my take on the All Layered Up Challenge. I had so much fun with this card.  I will definitely be making more things with this set. Please head over to the Ai blog and play along ... you could win a fabulous prize.  Have a great day! 

Copics used:
B00, B01
BG45, BG53
E34, E35, E37
G16, G28, G94 
G40, G43, G46
RV11, RV13, RV15
W1, W3, W5
Y13, Y15, Y17
YG61, YG63, YG67
YG93, YG97

Until next time ... Hugs & inky fingers!


0

Ai - Run Wild Mr. Handstand

Wednesday, May 27, 2020
Hello!!

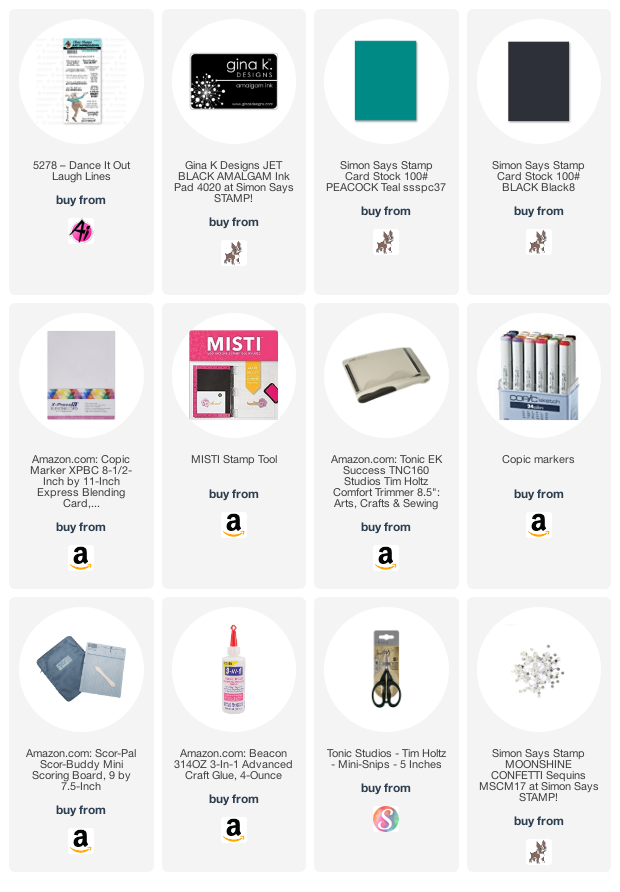
I am over on the Art Impressions blog today sharing a card I made using the Dance It Out stamp set from Art Impressions.  


I started with a teal card base.  I added a black piece of card stock trimmed smaller than the teal.  I trimmed my white piece smaller than the black so it would look nice and polished.  On my white piece I masked off a line so I could make the sky and grass.  I tilted the grass a tiny bit so when my guy was doing his handstand it would look more realistic. 


I faded out the  sky so I could add my sentiment ... "Over the hill and STILL running wild!" I placed the sentiment framed out in the upper left corner of the card. 


 I added some clear confetti to give some pop to the card.  I added my fussy cut gentleman to my card.  He fit perfectly upside down so he was "running wild" doing a handstand.  I love when you can change a stamped image up a little.


Here is one more look at the full card.

Thank you so much for stopping by and spending a little time with me, make sure you come back soon.  Head on over to the Ai blog again soon and see what the team has been up to.  

Copics used:
C1, C3, C5, C7
E00, E11
N5, N7, N9
R11, R22, R27
 W3, W5

Until next time ... Hugs & inky fingers!

0

Ai - Happy Birthday

Wednesday, May 20, 2020
Hello!!

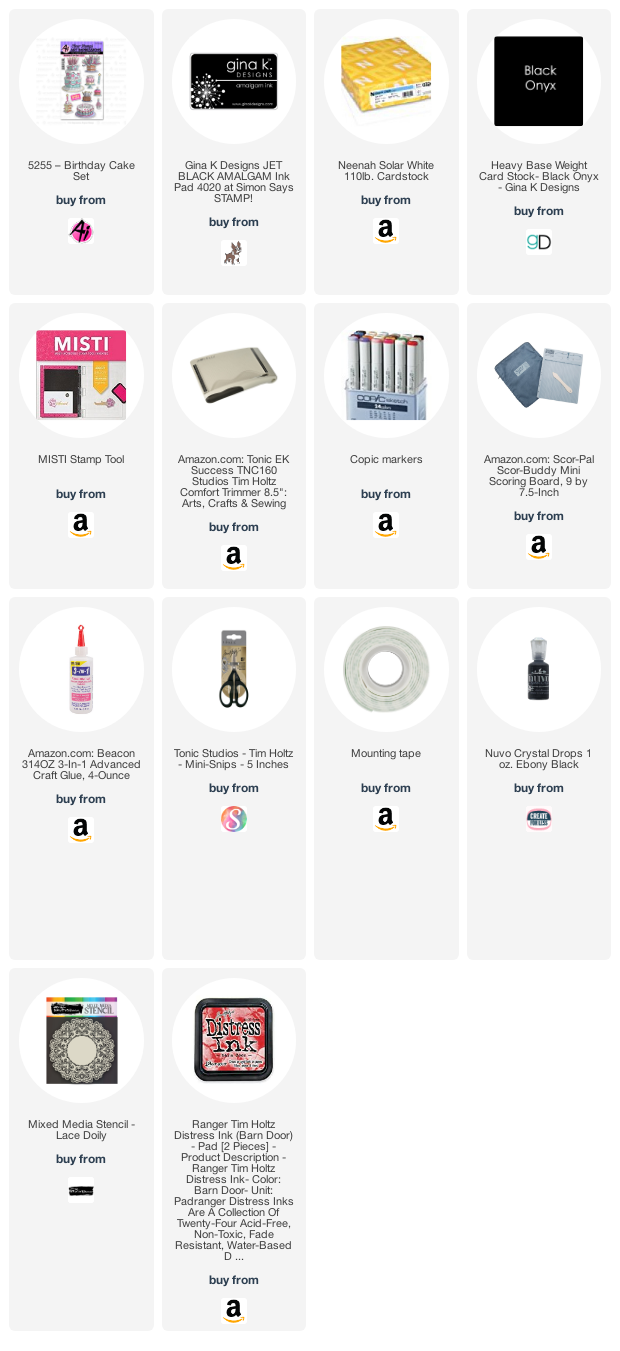
I am over on the Art Impressions blog sharing a card I made using the Birthday Cake stamp set from Art Impressions.  

I stamped my cake image and Copic Colored it.  I fussy cut it out.  i like that the cake has "Happy Birthday" stamped on it so I don't need to add a sentiment.  The cake can be my focal point.


I wanted me card to have a black base. I think it will really make my stenciled portion pop.  I used a stencil from my stash to distress some red ink on. I added black Nuvo Drops around the card for some dimension.  


I raised my cake image up with foam tape.  I love adding foam tape to make the stamped images stand out even more than they already do. 


Here is one more look at the finished card.

Thank you so much for stopping by and spending a little time with me, please stop back gain soon.  Make sure you head back to the Ai blog soon and see what the team has been up to.  

Copics used:
C3, C5
R37, R39
Y15, Y17
YR0000, YR01

Until next time ... Hugs & inky fingers!

0

Ai - You're Invited Challenge

Thursday, May 14, 2020
Hello!!

I am back again sharing another card for the Art Impressions 
Challenge ... This week it is; You're Invited Challenge

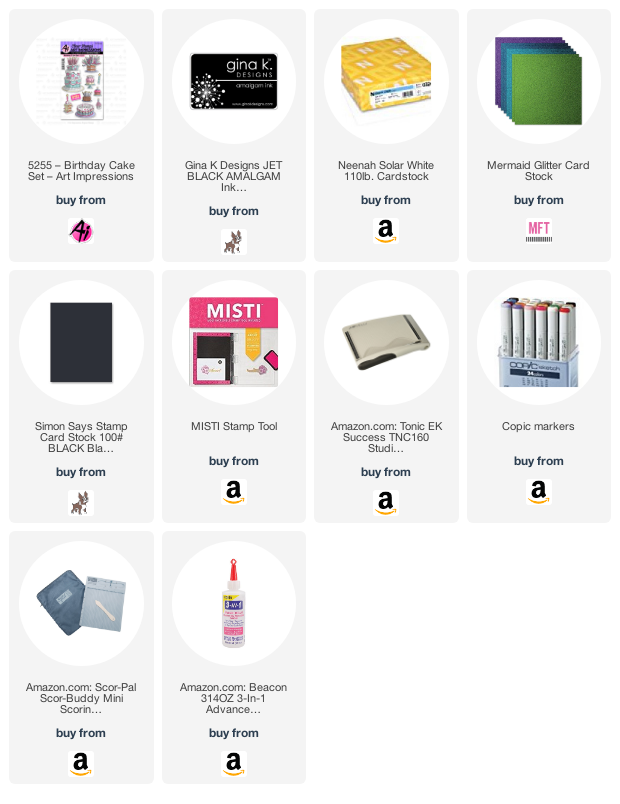
I am using the new Birthday Cake Set


My card is very clean and simple.  I wanted to show you that you don't necessarily need a sentiment set to have for your card.  It can be fun to use a set with nothing other than the main image so you can put your personal touch on it yourself. This Birthday Cake set did just that ..


I started by stamping my candles with my Misti in a row across the center of my card.  I added blue glitter card stock to the top and bottom of my card.  I finished it off with black trim.  I applied my whole panel to a black base. That is it ... I think it would make a great masculine card for someone. 


Here is one more look at my finished card.  I hope you have enjoyed my take on the You're Invited Challenge. I had so much fun with this card.  I will definitely be making more things with this set. Please head over to the Ai blog and play along ... you could win a fabulous prize.  Have a great day! 

Copics used:
B05, B06
C1
Y15, Y38
YG00, YG01

Until next time ... Hugs & inky fingers!

0

Ai - Butterfly Kisses

Wednesday, May 13, 2020
Hello !!

I am on the Art Impressions blog today sharing a card I made using the Butterfly stamp set from Art Impressions.  


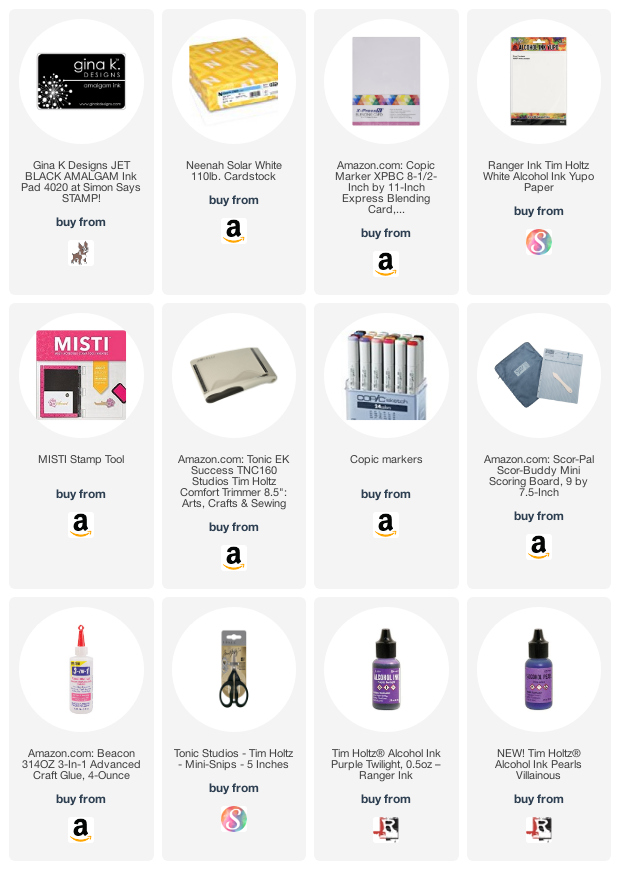
I started by using a scrap piece of paper to make my purple background paper.  I wanted it to match perfectly to my butterflies so I used my V17 Copic Marker to make the bottom layer.  Did you notice from the picture that I used a previously die cut piece of paper?  Since it is behind my top layer no one is the wiser.  Use up those scraps!!
On my Yupo paper I used my Ranger Alcohol Inks to create this whispy background.  I love how it makes the butterflies look like they are dancing across the paper.  This might be one of my favorite cards I have made in a long time. 
I added the butterflies to the front with glue.  Some of them I glued flat and some I only glued the bodies so I could bend the butterfly wings to make them look like they are flying. And that is it ... no sentiment needed.  It is a wonderful all occasion card (well in my opinion) LOL
Here is one more look at the finished card.

Thank you so much for stopping by and spending a little time with me, come back again.  Make sure you head over to the Ai blog soon too, and see what the team has been up to.  

Copics used:
V0000, V000, V01
V04, V09, V17
Alcohol Pearls - Villainous
Alcohol Ink - Purple Twilight

Until next time ... Hugs & inky fingers!

0

Ai - Get Your Happy On

Wednesday, May 6, 2020
Hello!!

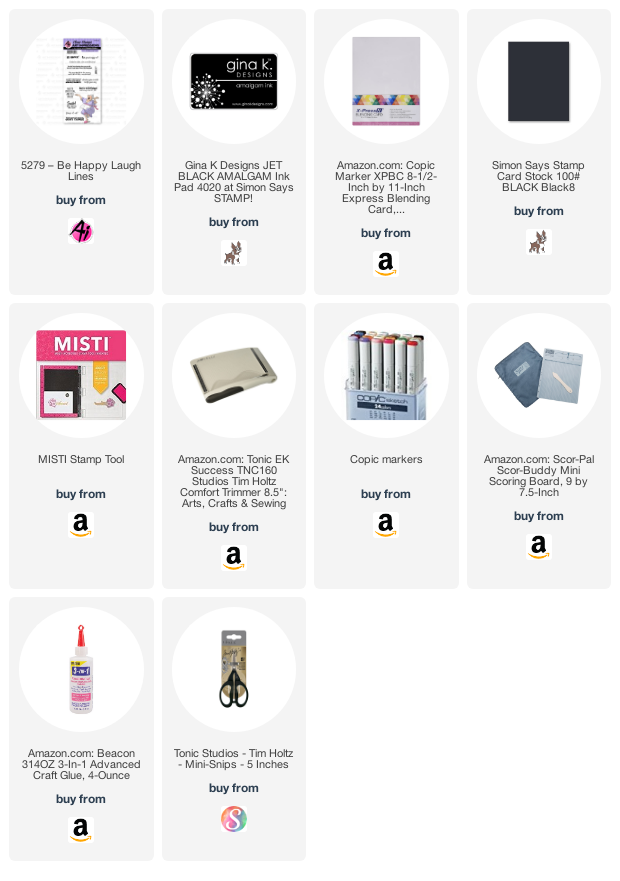
I am over on the Art Impressions blog sharing a card I made using the Be Happy Laugh Lines stamp set from Art Impressions


I started by Copic coloring my "Happy Lady". I fussy cut her out and set her aside so I could add her last.


I have three layers of framed pieces to my card.  Each layer has a base of black card stock.  The bottom two layers have pattern paper on top of the black card stock.  The top layer has a white panel where my lady will eventually go..


Here they are all layered together with the sentiment added to the top layer.  It says "Get Your Happy On!


Now just to finish it off by adding my lady to the top. 


Here is one more look at the finished card. I thought it had enough going on with without adding any embellishments. 

Thank you so much for stopping by and spending a little time with me, make sure you come back soon.  Head on over to the Ai blog again soon and see what the team has been up to.  

Copics used:
E00, E11
E47, E49 R11, R22, R27
RV11, RV13, RV14
W0, W1, W5, W7

Until next time ... Hugs & inky fingers!

0

Search This Blog

Powered by Blogger.