Ai - you're The Cherry On Top!

Wednesday, March 25, 2020
Hello Ai fans!!

I am over on the Art Impressions blog today sharing a card I made using the Cherry stamp set from Art Impressions that is being sold exclusively at Scrapbook.com.  
This card came together rather quickly but I LOVE how it turned out. 
I stamped the cherry image in the bottom right corner of my card.  I Copic colored it.  I added my sentiment above the cherry image to the right of the card. I decided it needed a little more pop so I went around it with my C1 & C3 Copic marker to give it a shadow like its popping off the screen. I added some clear droplets around the image to even out my my card front.  
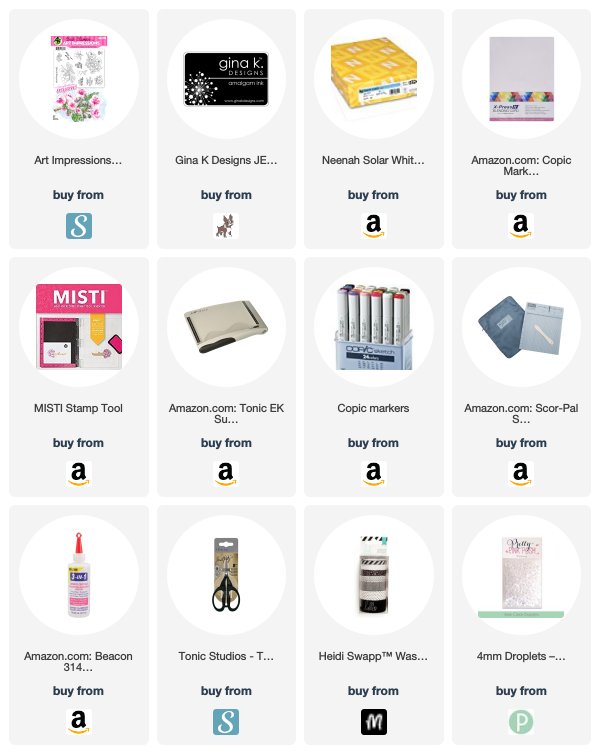
I added some black and white plaid/gingham to a strip of paper and trimmed it to fit the front of my card.  I glued it to the left side of the card.  I also added some of my Copic marker to a strip of paper so I knew it matched my leaves. I added that to my card front. And ... voila ... DONE ... didn't it turn out cute??? 
Here is one more look at the card ... 

Thank you so much for stopping by and spending a little time with me.  Make sure you head over soon to the Ai blog and see what the team has been up to.  

Copics used:
C1, C3,
E44, E47
G28
R22, R24, R27
YG23, YG25, YG67

Until next time ... Hugs & inky fingers!

0

Ai - Spring Celebrations Challenge

Thursday, March 19, 2020
Hello!!

I am back again sharing another card for the Art Impressions 
Challenge ... This week it is; Spring Celebrations Challenge
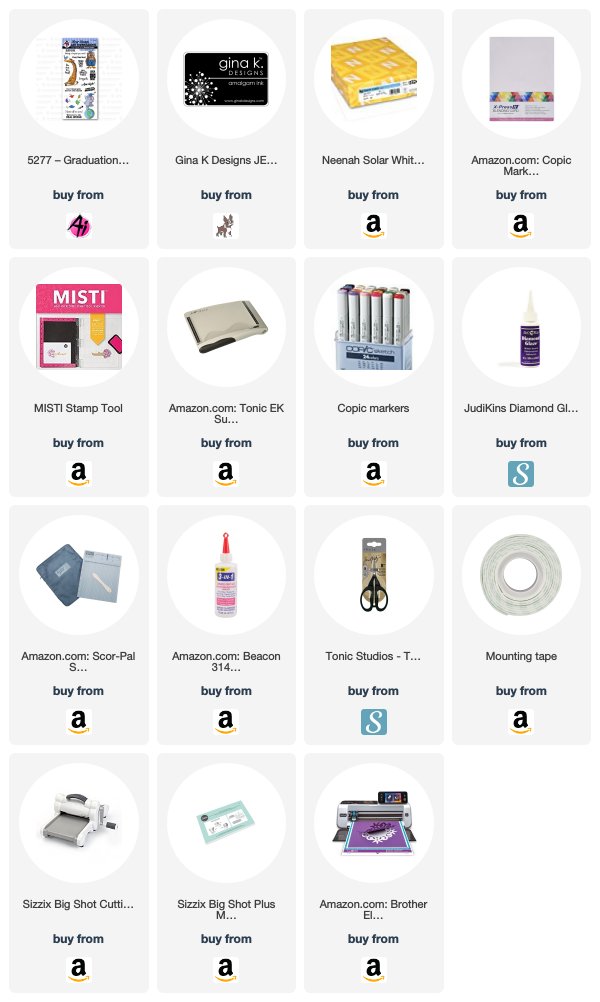
I am using the new Graduation Set


I started by using black for my card base and a smaller piece of red card stock.  I then used a frame die I had in my stash and applied it on to of my white stamped piece.


I Copic colored my globe and my graduating elephant. I stamped my sentiment that fits perfectly ... LOOK OUT WORLD! I stamped yellow stars as if they were shooting outward in excitement.


As you can see above I used some Crystal Effects on the globe to really make it pop and look as if it is really water.  


Here is one more look at my finished card.  I hope you have enjoyed my take on the Spring Celebrations Challenge. I had so much fun with this card.  I will definitely be making more things with this set. Please head over to the Ai blog and play along ... you could win a fabulous prize.  Have a great day! 


Copics used:
B12, B14
C0, C1, C3, C5, C7
G07, G09
R11, R22, R35, R37, R39


Until next time ... Hugs & inky fingers!


0

PBP - Light Up Card HOP using EZ Lights

Wednesday, March 18, 2020
Happy Wednesday everyone!!! Guess what day it is ...
I am SO excited to be part of the Pear Blossom Press Light Up Card Hop using her EZ Lights. Please hop along with us ... below is all the information needed to win your very own EZ Lights pack.  

I knew as soon as I ordered the new Mondo OMG die from Ellen Hutson that I wanted to use it for this card.  I used my Copics to make an ombre' effect in yellow and I cut out my OMG from my top layer of white card stock.  I added a tiny strip of black and white paper along the bottom.  I stamped the word "your" above the thin strip of black and white paper. I added two banners to the top left of my card.  I colored a light bulb digi I had and applied it with foam tape.  I finished off the front with some clear gems.
Here is the inside of my card.  I colored two more of my light bulb digi's and set them aside until I knew where I wanted them.  I stamped my "Smile" sentiment from Altenew and then die cut it with the coordinating die.  I Copic colored it with the same yellow ombre' effect. I stamped my sentiment "lights up my world" with black ink below my die cut.  I added a strip of the black and white paper to offset the blank spot on the bottom. I stamped and colored my "press here" circle to match the rest of the card. I raised my "Smile" sentiment with two layers of foam tape so that there was a gap showing the inside.
 Now for the magic ... the "Smile" is illuminated from underneath.  I like that it is on the inside of the card so it is unexpected.  How AWESOME is a card that reads "OMG your smile lights up my world" and it lights up??  Wait until you see how easy it is to create ... Keep reading below and I will show you ...
 So being my card is actually made I am now starting on my "box" and the light component. I have my white card base and a black piece I cit a 1/4' smaller to fit inside to help the light shine more.  I then cut 8 pieces of the white card base which is a standard size of 4.25"x5.5" .  I used my new Essential Rectangle dies from Ellen Hutson to make my frames.  I glued all 8 pieces together to create a box frame. I then glued it to my white and black piece.  
Now to add the EZ Light.   Everything comes together in the pack. All you have to do is insert the battery and glue the white logo side down.  See why I needed the 8 pieces to create my frame?  It is sturdier than foam tape.  
 Before you start gluing everything down and attach your card front make sure the EZ lights work :-)
So from here I taped my wired down and figured out where I wanted the EZ lights.  I glued my card down and then finished it by adding my word "Smile" with the foam tape. Easy peazy right????  
Here is one more look at the completed card. Once you start with these EZ Lights by PBP you will not want to stop. 
Doesn't it light up so bright?  The three lights attached really makes a difference. It just makes me happy to look at this card.  Makes me smile for sure!! 
I had so much fun with this card.  

I am so happy you joined us for the Pear Blossom Press Light Up Hop using EZ Lights. Trust me when I say “You will be using these all the time once you see how EZ they are to  assemble.” Please hop along with all of our wonderful designers. If you are just joining us make sure you start at the top :-)

Here is the line up ... 


Niccole <-------You are here
Justin <------- go HERE NEXT


Who wants to win an awesome prize from Pear Blossom Press?? Two prizes will be awarded to two separate winners, chosen at random, from comments left on participating blogs and videos. No purchase necessary. Comments must be posted by 11:59 pm PST on March 25, 2020. Only one comment per blog or video will be counted, but you can comment on multiple blogs and videos in the hop for additional entries. (This is to prevent spam.) Contest open internationally to participants over 18 years of age. Void where prohibited by law. Any personal information collected will only be used for the purposes of contacting winners, your information will never be shared or sold. Comments left on YouTube videos must not violate community guidelines. This contest is not sponsored by YouTube. Winners will be announced on April 1, 2020 at pearblossompress.com and prizes must be claimed within thirty days of announcement, or new winners will be drawn. 

Thank you so much for hopping along with me and with Pear Blossom Press!!
You can purchase your own set of EZ Lights ... HERE!
Until next time ... Hugs & inky fingers!     -Nic-

19

Ai - Birthday Gang

Hello!!

I am over on the Art Impressions blog today sharing a card I made using the 
Dog House Cubbies stamp and die set 
from Art Impressions.  
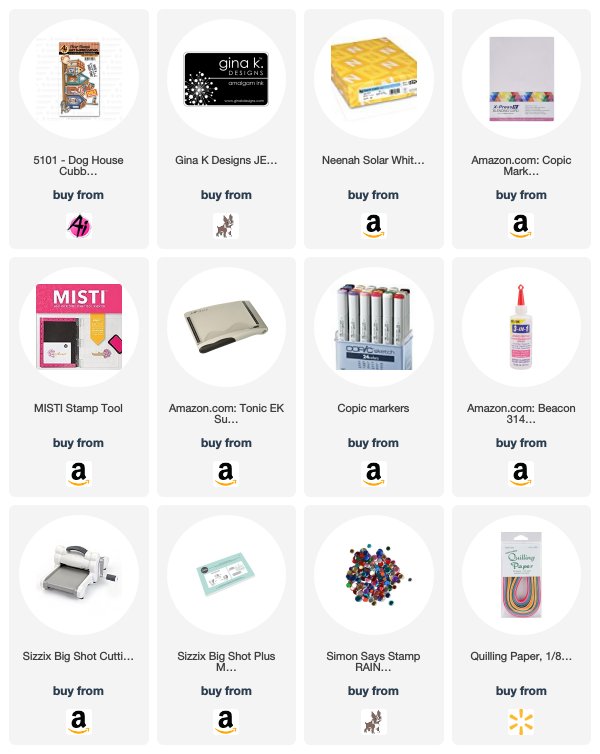
I started by placing a black piece of paper across the front of my card base. I added two small blue strips of paper to the top and bottom of my black strip.  Here is a little secret I will share with you ... It is quilling paper.  I buy quilling paper because it is already cut for you and you can use your Copic markers to make any color  you wish.
I colored all of my images. Look at all of those dogs!  Usually I like to color double of everything in case I ruin one, which has been known to happen LoL.  This way I also have extra to make another card next time.  
Here is one more look at the finished card. I added my Copic colored images to my card front.  I then added some matching pale green confetti sequins to my card front for some depth. Aren't these dogs and their houses just the cutest?
Thank you so much for stopping by and spending a little time with me.  Make sure you come back soon here and over to the Ai blog and see what we have been up to.  

Copics used:
B21, B23
BG75, BG78
C0, C1, C5, C7
E33, E35, E37
E43, E44, E47
G43, G46
R22
W1, W3, W5, W7
Y11, Y13, Y15
YG61, YG63

Until next time ... Hugs & inky fingers!

0

Ai -Thin Enough

Wednesday, March 11, 2020
Hello Ai fans!!

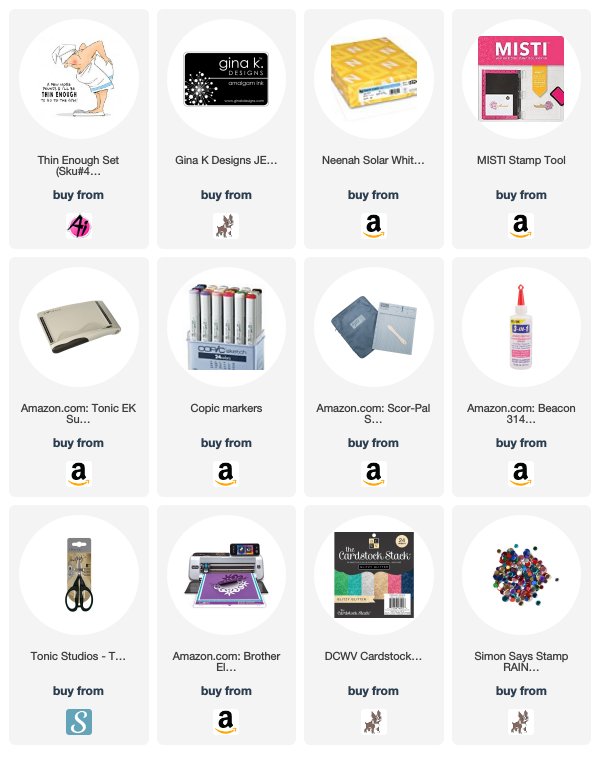
I am stopping by today to share a card I am sharing over on the Art Impressions blog using the Thin Enough stamp set from Art Impressions.  There is a larger set called Pamper Yourself which has this stamp set along with a few others. 
It came together rather quickly.  I stamped the woman and the sentiment first and Copic colored her.  I added the panel to my glitter background.
 I finished off my card by adding a shadow for my lady.  I also added some matching sequins for added dimension to my card.  That was it. The card came together rather quickly.
Here is one more look at the card.  I love how it says what a lot of us women are thinking.
Thank you so much for stopping by and spending some time with me.  It is always fun hanging out with all of you.  Stop back soon and see what I have been up to. Also make sure you head over to the Ai blog an give them some love.

Copics used:
BG000, BG01, BG02
C0, C1, C3, C5
E00, E11
R11, R22
T2, T4, T6
W1, W3, W5, W7


Until next time ... Hugs & inky fingers!


0

TRHD - There is Nobunny Like You

Saturday, March 7, 2020
Hello everyone!


It's Niccole and I am up over on The Rabbit Hole Designs blog today.  You should head over to the blog and give them some love. I am sharing another card I made using one of The Rabbit Hole Designs stamp sets.

For today's card I used the All Ears stamp set.


How to create this card:
  • 4.25x5.5 pinnk card base
  • A white piece of card stock cut to 4x5.25 glued to the pink piece
  • Stamped my bunny image to the white piece
  • Colored my bunnies with Copic markers
  • Added my sentiment to a pink piece of paper 
  • Applied sentiment with two layers of foam tape
  • Finished by applying sequins to card randomly
Here is one more picture of the full card ...


TRHD products used:

For more inspiration, updates, and news make sure to check out these places:


I have had so much fun playing with the All Ears stamp set.

Thank you so much for stopping by and spending some time with me.

Until next time ... Hugs & inky fingers! -Nic-

0

Ai - Home Sweet Home Challenge

Thursday, March 5, 2020
Hello stamping friends!!

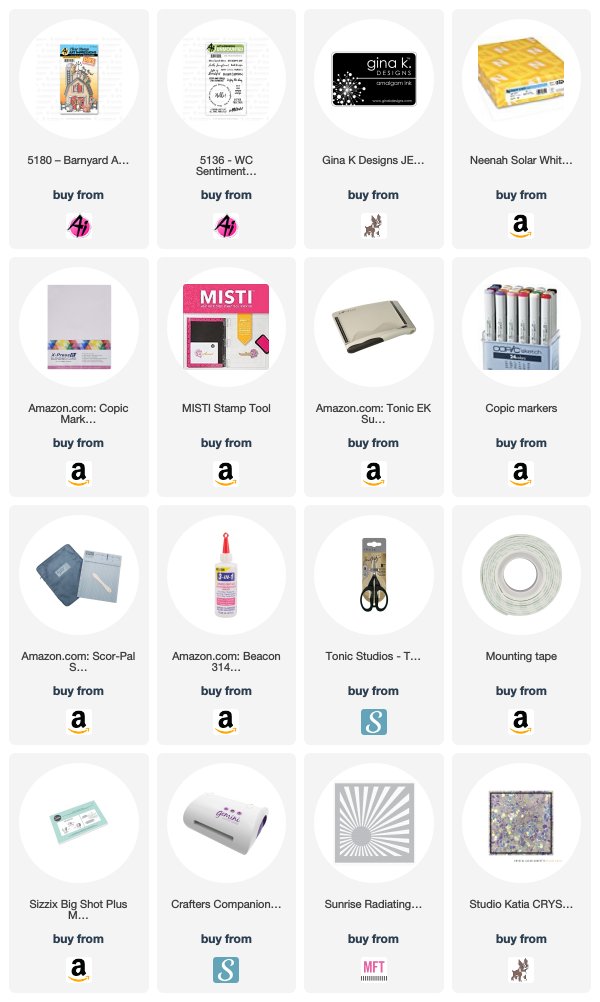
I am here today to share a really fun card using the Barnyard Animal Cubbies and WC Sentiment 2.  
 I wanted to think outside of the box for the Home Sweet Home Challenge, and what better way than farm animals and their home ... a barn.
 I started by Copic coloring my barnyard animals and the barn. I then cut out my images with the coordinating dies. I set these aside to work on my background.
I started by using a Copic safe marker to make my hill and some of my grass.  I filled in my grass with three different shades of Copic markers.
Once I was happy with my grass. As you can see there is a section where the grass looks like it isn't finished; that is because my barn is going so there no need to finish it. I wanted to work on my sunshine next. I used a light yellow on the sky.  I used a stencil along with a darker yellow for my sunshine to get my sun rays. I added my barn and the animals.  I only used a little foam tape on one section of the fence to make it pop. I finished with the Home Sweet Home sentiment and a few sequins to give it a little sparkle.

Here is one more look at the finished card.  Thank you so much for stopping by.  Please make sure to play along with the challenge; you can win an awesome Ai prize.

Copics used:
B0000
C3, C5
E30, E33, E34, E37
G06, G46, G99
N4, N6
R11, R12, R24
W1, W3, W5
Y02, Y04
YR04, YR07

Until next time ... Hugs & inky fingers!
0

Ai - Love Birds

Wednesday, March 4, 2020
Hello Ai fans!!

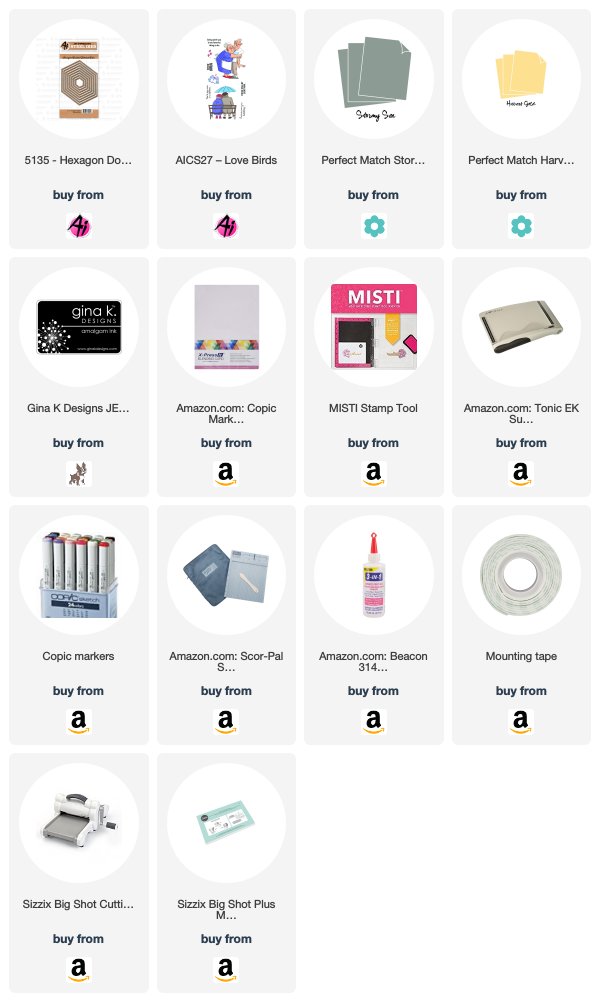
Happy Wednesday everyone. I hope your week is going well.  I am over on the Art Impressions blog today sharing a card I made using the Love Birds stamp set along with the Hexagon Double Stitch Dies from Art Impressions.
I started with a standard A2 card base.  From there I cut some yellow card stock with the third smallest hexagon from the Hexagon Double Stitched Dies. I also cut the next size smaller hexagon from my Copic colored Bluebird images.  I glued them to the larger yellow hexagons. Now for the fun part ...
 I stamped "Love Birds" on one of the yellow hexagons. I am now arranging them on my card base to best fit.  Kind of like a puzzle.  
I stamped "Happy Anniversary" on the inside with some hearts and Copic colored the hearts. I finished it off with some Wink of Stella on their feathers.
Here is one more look at the full card ...
Thank you so much for stopping by and spending some time with me.  It is always fun hanging out with all of you.  Stop back soon and see what I have been up to. Also make sure you head over to the Ai blog an give them some love.

Copics used:
B0000, B00, B01, B02
R27
Y11, Y13, Y15
YR18

Until next time ... Hugs & inky fingers!

0

Search This Blog

Powered by Blogger.